Power washing can work wonders—but it also comes with risks. One wrong angle, a bit too much pressure, or the wrong nozzle, and suddenly you’ve got etched concrete, gouged wood, or peeled paint. 😬
If you’ve accidentally damaged a surface while pressure washing, don’t panic. Many issues can be repaired, restored, or at least minimized if addressed quickly and correctly.
In this article, we’ll walk you through what to do immediately after damage occurs, how to repair different types of surfaces, and how to avoid these mishaps in the future. 💡
🧯 Step 1: Stop Immediately and Assess the Damage
As soon as you notice any damage:
- Turn off the pressure washer to prevent worsening the issue.
- Visually inspect the affected area to determine the type and extent of the damage.
- Take photos (especially for insurance or documentation if you’re doing commercial work).
There’s a big difference between:
- Surface-level discoloration or streaking
- Deep gouges in wood or composite
- Cracks or spalling in concrete
- Paint stripping from siding or doors
Each requires a different fix.
🔨 Common Types of Pressure Washing Damage (And What to Do)
Let’s break it down by surface type and typical issues.
🪵 1. Wood (Decks, Fencing, Siding)
Common Damage:
- Raised grain or splinters
- Deep gouges from high pressure
- Faded or stripped stain/paint
Fixes:
- Light sanding with 80–120 grit can smooth raised grain or light gouges.
- Use wood filler for deeper cuts, then sand and re-stain or seal.
- Apply a wood brightener to even out discoloration before re-sealing.
Avoidance Tip:
Use 500–1,200 PSI and a 25° or 40° tip on wood. Always test a small area first. 🧪
Browse Amazon Here For Top Rated Power Washers And Accessories
🧱 2. Concrete (Driveways, Sidewalks, Patios)
Common Damage:
- Etching or streaking
- Dislodged pebbles from exposed aggregate
- Surface cracks due to too much pressure or old concrete
Fixes:
- For etching/streaks: Apply a mild muriatic acid solution to help blend the discoloration.
- For chipped spots: Use a concrete patch or resurfacing product.
- Cracks can be filled with concrete caulk or epoxy.
Avoidance Tip:
Don’t exceed 3,000 PSI, and avoid narrow-angle tips (like 0°) unless spot-cleaning. 🔍
🧼 3. Painted Surfaces (Wood, Siding, Doors)
Common Damage:
- Peeling or flaking paint
- Uneven fading
- Water intrusion beneath paint
Fixes:
- Scrape away any loose paint and repaint the area using outdoor-grade paint.
- If water got behind the paint, allow time to dry thoroughly before any sealing.
- Use primer if repainting large sections.
Avoidance Tip:
Keep PSI under 1,200 and spray from at least 18–24 inches away. Always aim at a 45° angle, not head-on. 🎨
🪟 4. Windows and Glass
Common Damage:
- Cracked panes or seals
- Blown-out caulking
- Foggy interior between glass layers
Fixes:
- Unfortunately, glass damage usually requires replacement.
- Reseal edges or replace caulk if water penetrated around the frame.
Avoidance Tip:
Avoid pressure washing windows entirely, or use a very low-pressure rinse with a 40° nozzle from a safe distance. 🪟🚫
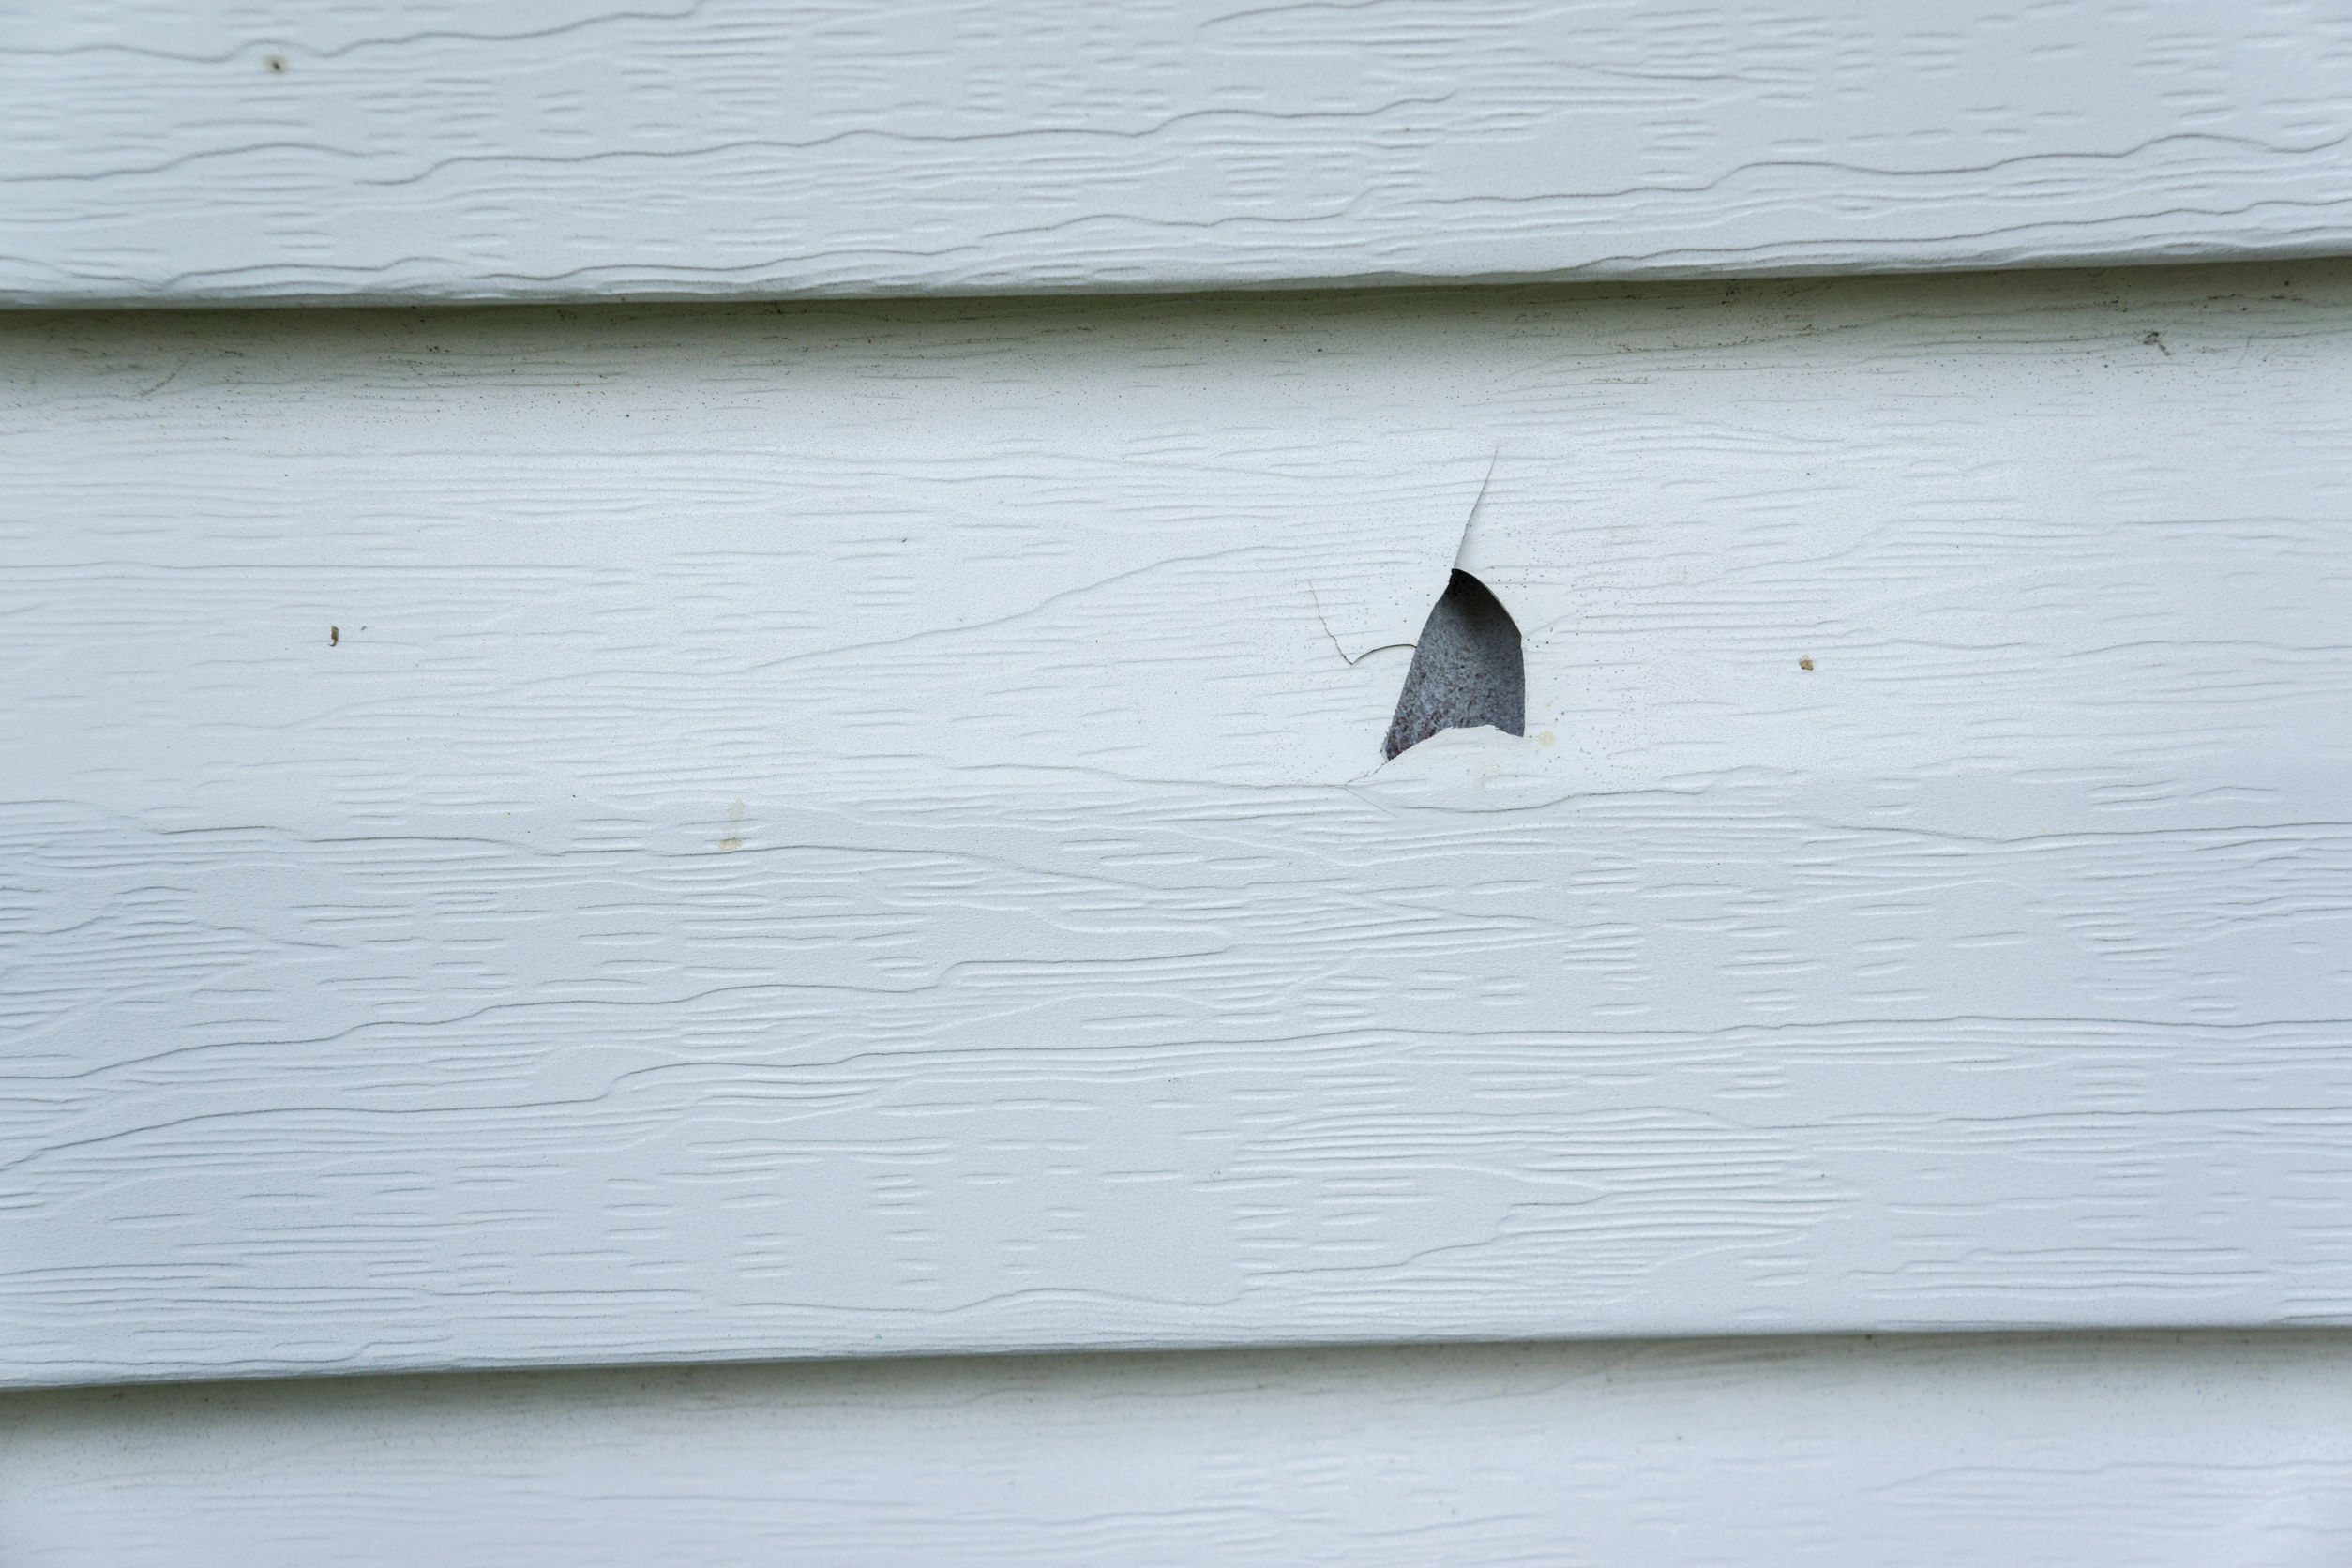
🏠 5. Vinyl Siding
Common Damage:
- Warping from hot water
- Cracks or holes from high pressure
- Water trapped behind panels
Fixes:
- Replace any cracked or warped panels. Vinyl is often interlocking and replaceable.
- Let the wall dry completely before sealing or painting.
Avoidance Tip:
Keep PSI under 1,500 and use a wide-angle tip. Avoid spraying upward. 🚿⬇️
🧽 What NOT to Do After Damage Occurs
❌ Don’t keep pressure washing the damaged area—it will only make it worse
❌ Don’t immediately try to patch with incompatible materials (like interior paint on exterior siding)
❌ Don’t ignore water intrusion—this can lead to mold, rot, or foundation issues
📞 When to Call a Professional
Some damage might be beyond a quick DIY fix:
- Major concrete cracks or structural issues
- Water damage behind siding or inside walls
- Broken windows or door seals
- Electrical damage from sprayed outlets or lights
In these cases, it’s best to consult a professional contractor or restoration service. It might cost more up front but can save thousands in long-term repairs. 💰
🧠 How to Prevent Damage Next Time
✅ Always test a small, inconspicuous area first
✅ Use the correct PSI and nozzle for each surface
✅ Hold the wand at least 12–18 inches away
✅ Move in smooth, even strokes—don’t hover in one spot
✅ Avoid power washing delicate items like electronics, vents, or old bricks
If you’re unsure, start with lower pressure and gentler nozzles. You can always increase if needed—but you can’t undo damage once it’s done.
💬 Final Thoughts
Power washing is a powerful tool, but it’s not without risks. If you’ve damaged a surface, don’t panic—many issues are reversible with the right approach. Just act quickly, assess thoroughly, and fix smartly. 🧠🔧
With experience comes confidence. Learn from the mistake, adjust your methods, and you’ll be back to power washing like a pro—this time with less mess and more finesse. 💪🧼
Browse Amazon Here For Top Rated Power Washers And Accessories


