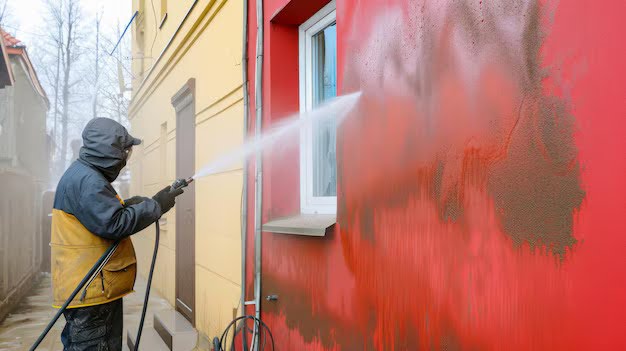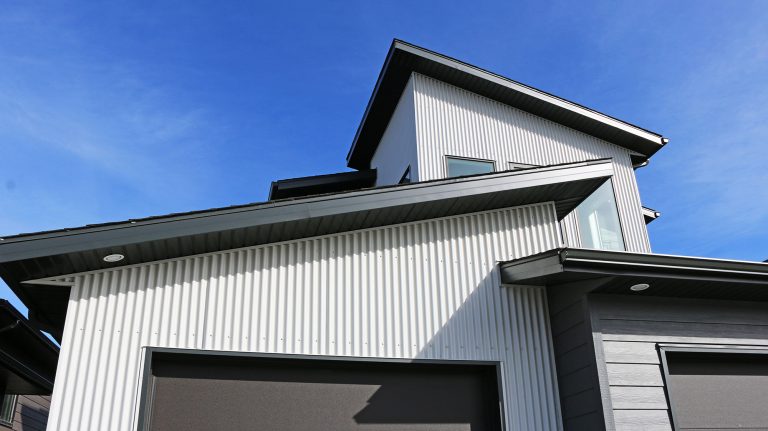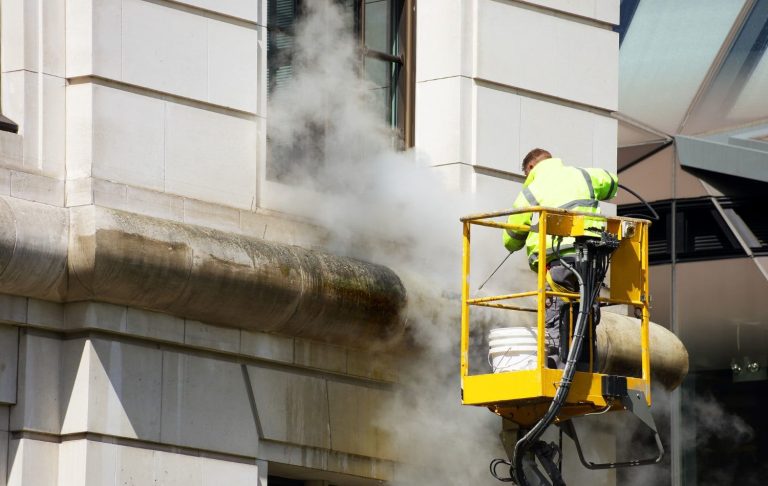
Power washing can be one of the most satisfying ways to restore life to your home’s exterior, but when it comes to painted surfaces, there’s a fine line between cleaning and causing damage. Whether it’s siding, fences, decks, or even outdoor furniture, painted surfaces require a little extra care to avoid chipping, peeling, or stripping the finish entirely. 😬
In this article, we’ll break down the most important dos and don’ts for power washing painted surfaces—helping you preserve the beauty of your home without ruining all that hard work (or paint!). 🧽💦
🎯 Why Power Wash Painted Surfaces?
Over time, painted surfaces accumulate all sorts of grime—dust, dirt, mildew, bird droppings, pollen, and even pollutants from the air. Left unchecked, these contaminants can:
✅ Dull the color of the paint
✅ Encourage mold and mildew growth
✅ Cause the paint to break down faster
✅ Reduce your home’s curb appeal 🏡
A gentle power wash (when done properly) can rejuvenate your painted areas, giving them a crisp, clean appearance and extending the life of the paint job. But improper technique can quickly lead to peeling paint, water damage, or permanent staining.
✅ The Dos of Power Washing Painted Surfaces
Let’s start with the best practices. If you want to safely clean painted surfaces with a pressure washer, these are your golden rules:
✅ 1. Test a Small Area First
Always test a small, hidden patch first before spraying the whole surface. This lets you check how the paint reacts to the pressure and adjust accordingly.
✅ 2. Use the Right Nozzle
A 25-degree (green) or 40-degree (white) nozzle is best for painted surfaces. These wide-angle spray tips reduce direct force and help spread the water evenly.
🛑 Avoid red or yellow nozzles, which produce a very narrow stream and are too powerful for painted areas.
✅ 3. Keep a Safe Distance
Maintain a distance of 12 to 24 inches from the surface when spraying. Getting too close can chip or strip the paint, especially if it’s aged or bubbling.
✅ 4. Wash from the Bottom Up (Apply Detergent)
When applying detergent, start from the bottom and work your way up to prevent streaking. Let the solution sit for 5–10 minutes but don’t let it dry.
Use biodegradable detergents designed for painted exteriors. These help lift dirt without damaging the finish. 🌱
✅ 5. Rinse from the Top Down
Rinsing should be the opposite of how you apply soap. Start from the top and work your way down to flush away loosened dirt and soap residue efficiently.
✅ 6. Choose a Mild Pressure Setting
Stick to a setting under 2,000 PSI—ideally 1,200–1,800 PSI. Higher pressure can erode paint, especially on wood or older finishes.
Browse Amazon Here For Top Rated Power Washers And Accessories
❌ The Don’ts of Power Washing Painted Surfaces
Just as important as what you should do is what you should avoid at all costs. These common mistakes can damage your paint job and lead to expensive repairs:
❌ 1. Don’t Power Wash Flaking or Peeling Paint
If the paint is already deteriorating, pressure washing will only make it worse. In these cases, it’s better to scrape and sand before repainting rather than blasting the surface with water. 🚫🎨
❌ 2. Don’t Use Hot Water
Hot water may seem more effective, but it can soften and lift paint, especially latex or acrylic types. Stick to cool or lukewarm water.
❌ 3. Don’t Spray Directly into Cracks or Seams
High-pressure water can force its way into cracks, under trim, or behind siding. This can cause moisture damage, mold growth, and warping over time.
❌ 4. Don’t Rush the Job
Moving too fast or using erratic strokes will result in uneven cleaning and water marks. Take your time, use smooth motions, and rinse thoroughly.
❌ 5. Don’t Skip Safety Gear
Always wear eye protection and gloves, especially when using detergents or spraying overhead. Safety should never be an afterthought. 😎🧤
🏠 Ideal Painted Surfaces for Power Washing
Power washing is effective on many painted surfaces—if done carefully. Here are some common examples where it works well:
- Painted wood siding
- Vinyl siding with painted trim
- Painted brick or masonry
- Painted fences or gates
- Outdoor painted metal furniture
- Painted decks or railings
Each material may react differently, so always double-check manufacturer recommendations if available.
🧰 Alternative Cleaning Methods for Delicate Surfaces
If you’re unsure whether your painted surface can handle power washing, consider these gentler alternatives:
- Soft washing (low-pressure rinse with detergents)
- Hand washing with a sponge and hose
- Scrubbing with a soft-bristle brush and mild soap
These options are safer for delicate or older paint jobs, especially on historical homes or decorative finishes.
💡 Pro Tip: Repainting After Power Washing
If you’re cleaning the surface in preparation for repainting, power washing is a fantastic way to strip off loose dirt and chalkiness. Just make sure to:
✅ Let it dry for at least 48 hours before applying primer or paint
✅ Sand any uneven or flaking spots
✅ Repair any water-damaged areas before continuing
This ensures a smooth, long-lasting new coat of paint.
🧽 Should You Hire a Pro?
If you’re dealing with a large painted area, tall second-story walls, or valuable decorative finishes, hiring a professional may be the best move. Pros bring:
- The right nozzles and pressure settings
- Knowledge of how different paints react to water
- Skill in navigating ladders, angles, and tricky areas
It may cost a bit more, but it can prevent a costly repaint job if something goes wrong. 💸🛡️
✨ Final Thoughts
Power washing painted surfaces can be a game-changer for your home’s appearance—but only if it’s done with the right tools and technique. Stick to wide-angle nozzles, keep your distance, and go easy on the pressure. With a little care, you’ll enjoy a fresh, clean finish without lifting a single flake of paint. 🎨✨
Browse Amazon Here For Top Rated Power Washers And Accessories


