You’ve got big plans for refreshing your home’s exterior, fence, or deck—and you’re probably wondering: “Do I really need to pressure wash first?” 🤔
Here’s the short answer: Yes, absolutely. Pressure washing before painting or staining is one of the most important prep steps you can take to ensure a smooth finish and long-lasting results.
Skipping this step can lead to poor adhesion, peeling paint, and wasted time and money. Let’s break down why it matters, how to do it right, and what to avoid. ✅🧼
🧠 Why Pressure Washing First Is So Important
Surfaces exposed to the elements collect:
- Dirt and grime
- Mold, mildew, and algae
- Pollen and dust
- Old paint flakes or residue
Painting or staining over that debris means you’re not sticking to the surface—you’re sticking to the junk on top of it. 😬 And that leads to:
- Uneven color
- Bubbling or peeling
- Premature fading
- Water getting trapped underneath the coating
🎯 Pressure washing clears the canvas, giving paint and stain something clean and porous to bond with.
🧱 Surfaces That Should Be Washed Before Painting or Staining
- Wood siding and trim
- Decks and fences
- Concrete patios and porches
- Stucco or brick
- Vinyl or aluminum siding
Even if they look “pretty clean,” they likely have invisible layers of dust and residue that affect adhesion.
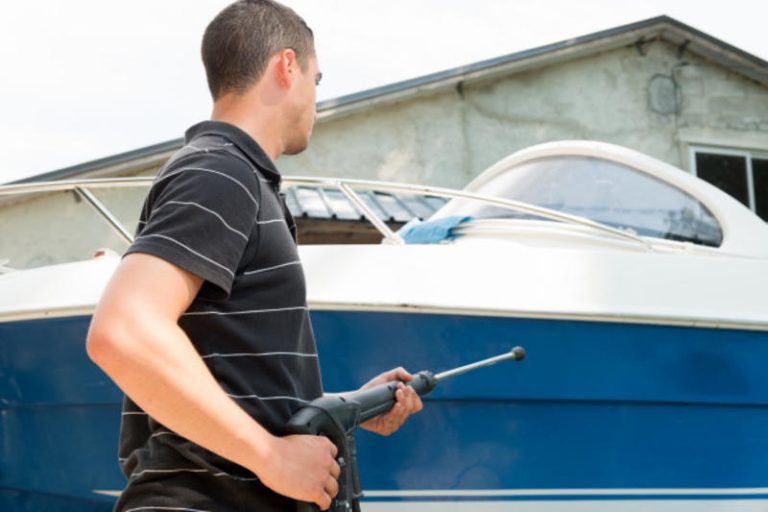
⚙️ How to Pressure Wash Before Painting or Staining
1. Pick the Right Day 🌤️
Choose a dry, mild day with little wind. This allows surfaces to dry thoroughly before coating.
💡 Try to wash 2–3 days before painting or staining to ensure everything is bone-dry.
2. Use the Correct Pressure
Different surfaces require different PSI settings:
- Wood: 1,200–1,800 PSI
- Siding: 2,000–2,800 PSI
- Concrete: 3,000–3,500 PSI
Too much pressure can gouge wood or etch concrete, so always test a small section first!
3. Use a Wide Spray Tip
Stick with:
- 25° (green) or
- 40° (white) nozzles
This creates a fan-like spray that cleans evenly without damaging the surface.
🚫 Avoid the 0° red nozzle unless you want to strip something aggressively.
4. Apply a Cleaner If Needed 🧴
For mold, mildew, or grease:
- Use a mild detergent labeled for the material you’re cleaning
- Let it sit for 5–10 minutes
- Scrub gently if needed
- Rinse thoroughly with clean water
🧠 Important: Always rinse thoroughly—leftover soap can interfere with paint/stain bonding.
5. Let It Dry Completely
This is a step many people overlook. Water trapped inside wood or siding can:
- Prevent proper paint absorption
- Lead to blistering
- Cause mold or mildew later on
🌞 Allow at least 48 hours for wood surfaces and 24 hours for siding/concrete, depending on humidity and sunlight.
Browse Amazon Here For Popular Pressure Washers And Accessories
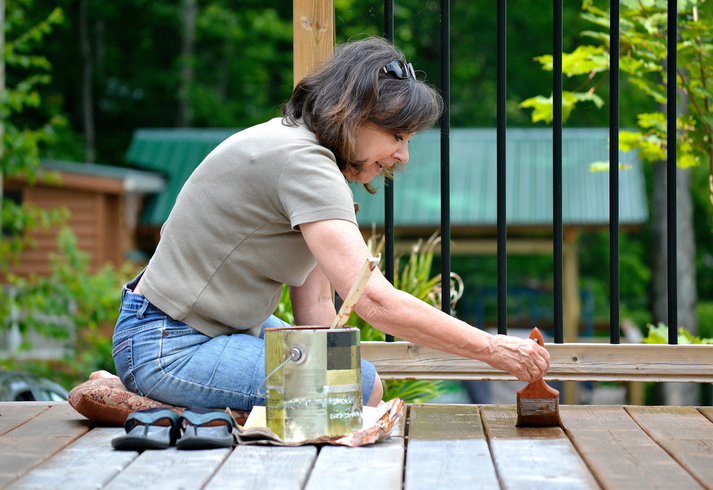
🧼 What About Sanding?
If you’re staining a deck or fence, a light sanding after pressure washing can help:
- Smooth out raised grain
- Remove any leftover stain
- Improve stain absorption
Just make sure the surface is fully dry before sanding.
🧰 Mistakes to Avoid
- Painting too soon after washing
- Using high PSI and damaging the surface
- Not rinsing off detergent
- Skipping mold/mildew treatment
- Leaving behind loose paint flakes
These common mistakes can lead to a failed finish—one that chips, cracks, or fades in no time.
💡 Pro Tip: Use a Surface Cleaner on Decks and Patios
A round surface cleaner attachment gives:
- Consistent pressure
- Uniform results
- Faster coverage
It’s a time-saver and helps avoid streaks or swirl marks, especially on concrete.
🧠 Final Thoughts
Pressure washing is one of the most crucial prep steps before painting or staining. 🎯🎨💦 It may seem like an extra chore, but it makes all the difference between a professional-looking finish and one that starts peeling after a few months.
To recap:
- ✅ Pressure wash 2–3 days before painting
- ✅ Use appropriate PSI and nozzle
- ✅ Clean thoroughly and let dry completely
- ✅ Consider sanding wood after it dries
- ✅ Don’t skip cleaning even if the surface “looks clean”
With a fresh, clean base, your new paint or stain will bond beautifully—and last much longer. Now you’re not just improving your curb appeal—you’re protecting your investment. 🏡✨
Browse Amazon Here For Popular Pressure Washers And Accessories