Pressure washing is a powerful tool for revitalizing your home’s exterior — but even the best equipment can’t do its job properly if the surface isn’t prepared first. Whether you’re tackling siding, concrete, wood, or patio furniture, proper prep is the secret to a safe, effective, and damage-free clean.
Failing to prepare surfaces before power washing can lead to poor results, unnecessary wear, or even serious damage. In this article, we’ll break down how to prep different types of surfaces like a pro — so your pressure washing job delivers spotless results every time. 💦🏠
🧼 Why Surface Preparation Is Crucial
Before you pull the trigger, it’s important to understand why surface prep is a necessary first step:
✅ Prevents water from getting behind siding, flashing, or window seals
✅ Avoids damage to paint, mortar, or wood fibers
✅ Helps cleaning solutions work more effectively
✅ Removes debris that can clog nozzles or damage pressure washer parts
✅ Identifies problem areas (mold, rot, peeling paint) before they worsen
When done correctly, prep takes just 10–30 minutes — and can extend the lifespan of the surface you’re cleaning.
🏡 General Preparation Checklist
No matter what you’re cleaning, start with these essential prep tasks:
- Clear the area – Remove furniture, planters, tools, and toys
- Sweep or blow off loose debris – Leaves, twigs, and dust can block detergents from doing their job
- Check the surface – Look for cracks, flaking paint, rot, or crumbling mortar
- Close all windows and doors – Prevents water from seeping inside
- Cover sensitive areas – Wrap outlets, lights, cameras, and doorbells with plastic
- Trim back vegetation – Avoid spraying delicate plants or shrubs
🪟 Preparing Different Surfaces
🧱 Brick and Masonry
- Check for crumbling mortar or loose bricks — avoid blasting these directly
- Pre-wet with a low-pressure rinse to reduce dust and absorb detergent
- Use a masonry-safe cleaner for algae or efflorescence
- Avoid pressure higher than 2,500 PSI on soft or older bricks
🪵 Wood Decks and Fencing
- Remove all furniture, grills, and décor
- Sweep thoroughly to remove debris between boards
- Sand down splinters or peeling stain (if refinishing afterward)
- Use a biodegradable wood cleaner to prep for pressure washing
- Keep PSI around 1,200–1,500 to prevent gouging the wood
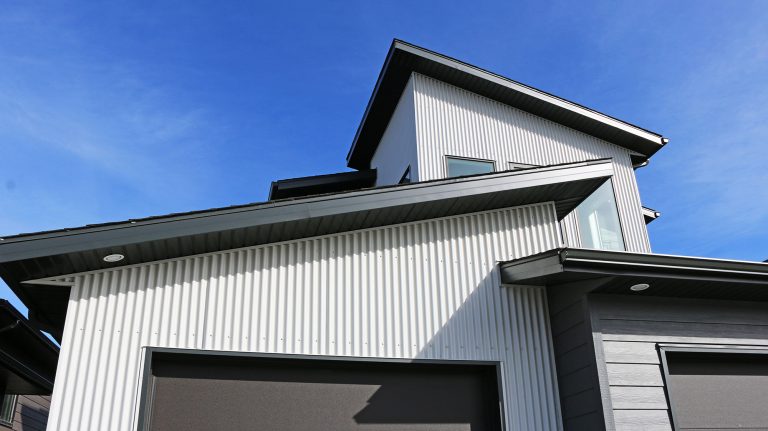
🪟 Siding (Vinyl, Aluminum, or Wood)
- Inspect for cracks or loose panels
- Caulk gaps around windows and doors if needed
- Use painter’s tape or plastic sheeting to cover outlets and lights
- Pre-rinse with a garden hose to remove surface dust
- Choose the right detergent — vinyl and wood require different formulas
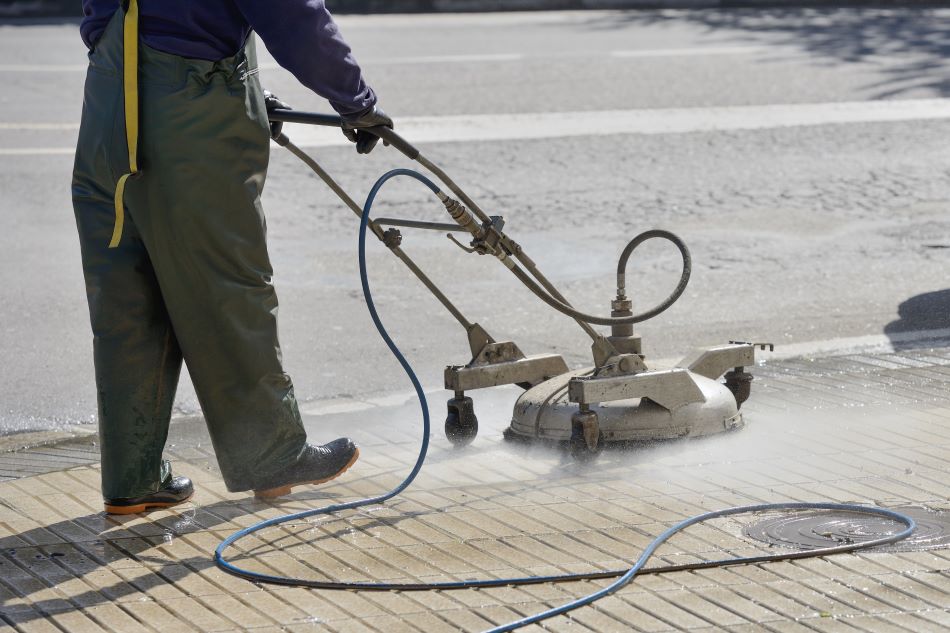
🛣️ Driveways and Sidewalks
- Sweep loose debris and pull weeds from cracks
- Treat oil stains with degreaser ahead of time
- Avoid using high-pressure on cracked or chipped concrete
- Mark off sprinkler heads or decorative edging that could be damaged
- Let degreaser or stain remover sit 10–15 minutes before rinsing
🪑 Outdoor Furniture & Fixtures
- Hose down furniture first to loosen dirt
- Move cushions and covers indoors
- Use a gentle cleaning agent on wood or painted metal
- Avoid spraying electrical fixtures or low-voltage lighting directly
- Dry thoroughly to prevent mildew
Browse Amazon Here For Top Rated Power Washers And Accessories
⚠️ Common Mistakes to Avoid
Even seasoned DIYers make mistakes. Here are the biggest pitfalls to watch out for:
❌ Skipping inspection — which can lead to damage or water intrusion
❌ Using bleach without rinsing — can discolor paint and kill grass
❌ Washing on a windy day — overspray can hit windows or nearby cars
❌ Not testing PSI settings — too much pressure can etch concrete or tear wood
❌ Forgetting PPE — always wear goggles and closed-toe shoes
🧪 Choosing the Right Cleaning Solution
The cleaning agent you use should match the surface and stain type:
| Surface | Best Cleaning Solution |
|---|---|
| Vinyl siding | Mildew remover or siding detergent |
| Concrete driveways | Degreaser or rust remover |
| Wood decks | Wood brightener or stripper |
| Roof shingles | Soft wash with algaecide (low pressure only) |
| Painted surfaces | Mild soap; avoid bleach-based cleaners |
Pro tip: Always test your detergent on a small, hidden area before applying it broadly.
🔌 Equipment Prep Tips
If you’re renting or using your own pressure washer, make sure the equipment is ready too:
- ✅ Inspect hoses for cracks or leaks
- ✅ Ensure the correct nozzle is attached (25° or 40° for most surfaces)
- ✅ Fill the detergent tank with the right cleaning solution
- ✅ Purge any air from the hose before spraying
- ✅ Check that the engine oil and fuel are at proper levels (for gas-powered models)
⏱️ How Long Does Prep Take?
- Small patio or walkway: 10–15 minutes
- Average home siding: 20–30 minutes
- Full deck or fencing project: 30–45 minutes
- Multi-surface jobs (house + driveway + patio): 1 hour+
A little prep now saves you a lot of headaches later — and ensures your pressure washing is efficient and safe.
✅ Final Thoughts
A spotless result doesn’t start with the pressure washer — it starts with solid preparation. Whether you’re cleaning your siding, deck, or driveway, prepping your surfaces protects your property, boosts the cleaning power, and helps you avoid costly mistakes.
So before you crank up that power washer, take a few minutes to prepare your work zone like a pro. Your surfaces — and your future self — will thank you. 🧼💪
Browse Amazon Here For Top Rated Power Washers And Accessories
