Paver patios, walkways, and driveways can add beauty and structure to any outdoor space. But over time, dirt, moss, weeds, and grime collect — especially in the spaces between the pavers, where debris loves to settle. If you’re looking for a fast and effective way to freshen things up, you may be wondering:
Can I pressure wash between my pavers?
Absolutely — but there’s a right and a wrong way to go about it. If done carelessly, pressure washing can dislodge joint sand, loosen bricks, or even etch the surface. But with the right method, you can clean thoroughly and keep your pavers looking crisp and beautiful. Let’s walk through it! 🧼🌿
🔍 Why Clean Between Pavers?
Cleaning the gaps between pavers is about more than looks:
- 🌱 Removes weeds and moss that weaken structure
- 🚫 Eliminates mold, mildew, and allergens
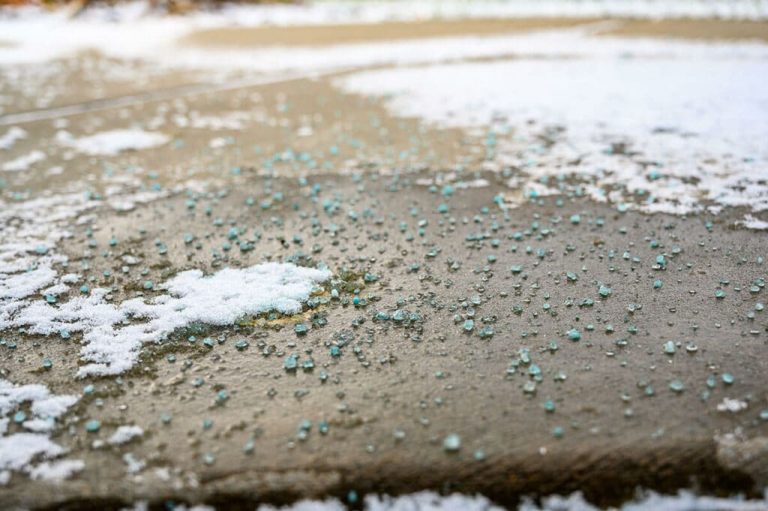
- 🧱 Prevents sand displacement from erosion
- 🐜 Discourages pests from nesting in gaps
- 🧹 Refreshes appearance for a like-new look
Whether you’re prepping for a party or just doing seasonal maintenance, this is one of the best ways to improve curb appeal quickly.
⚠️ Common Mistakes to Avoid
Before diving in, here are a few key things NOT to do:
❌ Using too much pressure — can erode joint sand and damage pavers
❌ Using a narrow nozzle tip — may etch or chip paver edges
❌ Skipping prep and sealant — leads to faster weed regrowth
❌ Spraying at a steep angle — causes uneven sand removal
Pressure washing is powerful — treat it like a scalpel, not a sledgehammer.
💧 What You’ll Need
To do it right, gather the following tools and materials:
✅ Pressure washer (1,200–2,000 PSI ideal)
✅ 25- or 40-degree nozzle
✅ Broom or leaf blower
✅ Joint sand (polymeric or regular)
✅ Garden hose or sprayer
✅ Sealant (optional, but highly recommended)
For tight or narrow joints, consider using a turbo nozzle with caution, or a specialized paver cleaning wand that allows for more precise control.
Browse Amazon Here For Popular Pressure Washers And Accessories
🧽 Step-by-Step: Cleaning Between Pavers
1. Prep the Area
Sweep or blow away loose debris. Move patio furniture and cover nearby plants if using detergent.
2. Wet the Surface
Dampen the entire paver area with a light mist. This prevents the detergent from soaking in too fast and helps loosen grime.
3. Apply Cleaning Solution (Optional)
Use a paver-safe cleaner for moss, mold, or oil stains. Let it sit 5–10 minutes.
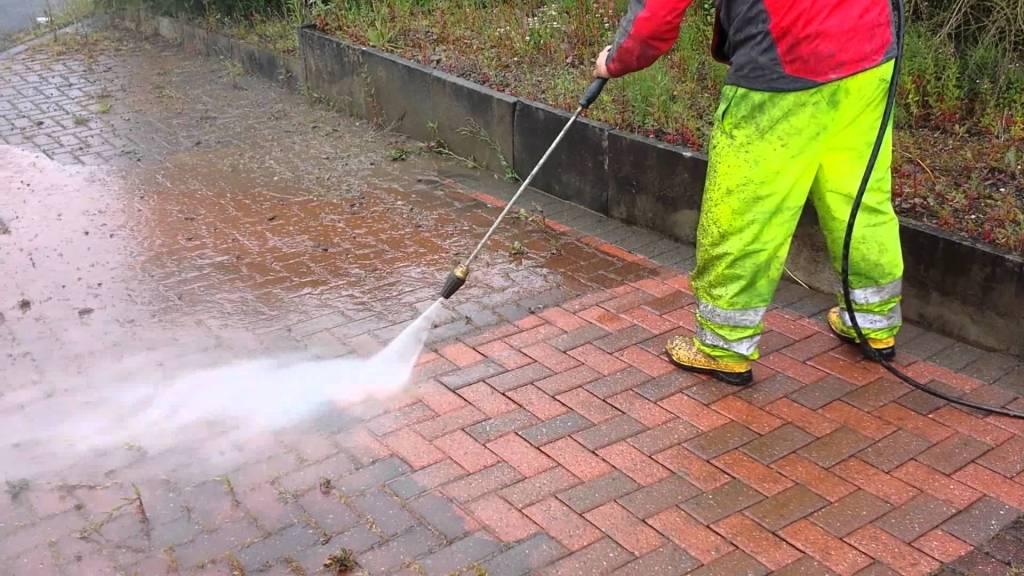
4. Pressure Wash Carefully
Start on a low setting (around 1,200–1,500 PSI) using a wide-angle (40-degree) tip. Keep the nozzle 6–12 inches away from the surface and hold it at a 45-degree angle to avoid blasting sand directly out of joints.
Move slowly in consistent sweeps. Focus extra attention on the joints between pavers, but avoid spraying directly into them for too long.
5. Re-Sand the Joints
After the surface dries completely (usually within 24 hours), inspect for lost sand between pavers.
- Use polymeric sand for long-lasting, weed-resistant joints
- Pour over the surface and sweep into cracks
- Mist lightly with water to set (follow package instructions)
6. Seal the Pavers (Optional, but great idea)
Once sand has settled, apply a breathable paver sealant to lock in cleanliness and prevent weed regrowth, fading, and erosion. Choose a matte or glossy finish based on your preference.
🧠 Pro Tips for Success
🔄 Work in sections — clean, rinse, and sand one area at a time
📅 Clean annually — or twice a year for high-traffic zones
🌤️ Pick a dry day — for best drying and sanding results
🚿 Avoid over-spraying — too much pressure = unstable pavers
🧴 Use a paver cleaner if dealing with mildew or deep stains
🧼 Final Thoughts
Pressure washing between pavers can completely transform a tired-looking patio or path — but only if done with care. The key is moderation: use the right nozzle, stay at the right angle and distance, and follow up with re-sanding to lock things back into place.
When done right, you’ll enjoy a fresh, crisp, and clean paver surface that looks brand new and lasts longer. No more weeds, grime, or crumbling joints — just outdoor elegance, the easy way. 🧱✨💦
Browse Amazon Here For Popular Pressure Washers And Accessories