Hiring new employees is a huge step—but it’s only half the battle. If you don’t train them properly, you’re risking your company’s reputation, wasting money, and setting your new hire up to fail. ❌
A strong training program turns rookies into rockstars. It builds consistency across your brand, protects your equipment, and ensures your customers get the same top-notch experience every time. ⭐
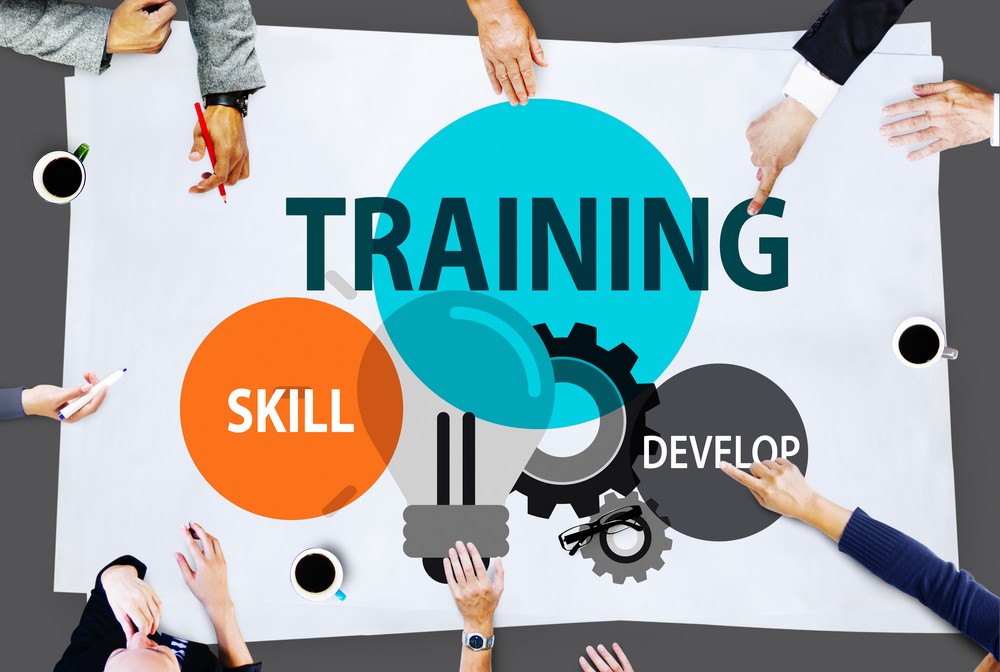
In this article, we’ll walk through how to design a training program that makes onboarding smooth, sets expectations clearly, and prepares your team to grow with you. 💪📈
🎯 Why You Need a Training Program (Even for Small Teams)
Even if you only have one or two employees, you need a system.
Here’s why:
- 🛠️ Reduces mistakes that damage property or equipment
- 💬 Improves customer communication and professionalism
- ⏱️ Speeds up job completion
- 🔁 Helps new hires become productive faster
- 📦 Ensures service consistency across jobs and crews
Without training, every new employee is an experiment—and that’s a gamble most small businesses can’t afford.
🧩 Step 1: Break Down the Job Into Core Areas
Start by listing the main components of the role. This will help you build modules that are easy to follow.
Example training areas:
- Company mission, culture & expectations
- Equipment basics and maintenance
- Cleaning techniques (soft wash, surface cleaning, etc.)
- Safety protocols and PPE usage
- Customer service and communication
- On-site procedures and workflow
- Upselling and cross-selling services
- Handling complaints and callbacks
Each area should have its own mini-training module, whether that’s a video, a written guide, or in-person shadowing.
🧠 Pro tip: Use a checklist format for each module so nothing gets missed.
🎬 Step 2: Create Video and Visual Training Content
Today’s employees—especially younger ones—learn best with video. 📹
Use your phone to record:
- How to start up and shut down each machine
- How to roll hoses properly
- How to clean different surfaces (concrete, siding, roofs)
- How to interact with a customer at the front door
Bonus tip: Include examples of what NOT to do—this can be more powerful than showing perfection.
Pair each video with:
- A short quiz
- A practical demo
- A checklist they sign off on ✅
This gives your team a “library” they can revisit anytime—and it saves you from repeating yourself 100 times.
🏡 Step 3: Start with Ride-Along and Shadowing
Before handing over the wand, get them into the field to observe and absorb.
Here’s how to structure the first week:
- Day 1–2: Ride-along with a lead tech or supervisor
- Day 3–4: Assist with prep, hose wrangling, and cleanup
- Day 5: Begin hands-on with supervision
🧼 Let them feel the rhythm of your workflow. It’s the best way to understand your expectations in action.
Just make sure your lead tech is someone who reflects your company’s values—bad habits can spread fast. 🧠
🛡️ Step 4: Emphasize Safety from Day One
Power washing isn’t risk-free. A new hire could:
- Burn themselves with hot water
- Damage paint or siding
- Hurt their back lifting improperly
- Slip on a wet surface
- Electrocute themselves if they ignore outlet covers 😳
Make safety its own module with mandatory training before they ever touch a machine.
Teach:
- PPE requirements 🥽
- Ladder safety 🪜
- How to protect landscaping and electronics
- What chemicals are used and how to handle them
- Emergency protocols and reporting procedures
Give them a safety handbook—and enforce it.
💬 Step 5: Teach the “Soft Skills”
Your techs are your brand ambassadors. One rude or awkward interaction can cost you a 5-star review.
Train them on:
- How to greet the customer professionally
- How to explain the job and answer questions
- What NOT to say (especially around pricing or competitors)
- How to ask for feedback or reviews
- How to politely offer additional services
💡 Role-play common customer scenarios so they build confidence.
Soft skills often matter more than the perfect technique.
🧰 Step 6: Provide Hands-On Practice Before Live Jobs
Before sending them out solo, create a mock job in a safe space:
- Your own driveway
- A test wall or piece of siding
- An old deck or fence panel
Let them:
- Start the engine
- Test nozzles and pressure settings
- Clean a surface from start to finish
- Practice chemical application and rinse
Correct posture, aim, technique, and speed. Give real-time feedback. 🎯
If they make a mistake here—it’s a teachable moment, not a costly one.
📝 Step 7: Use a Progress Tracker
Track each trainee’s journey with a formal log or progress sheet.
Log:
- Dates each module was completed
- Quizzes passed
- Hands-on evaluations
- Supervisor feedback
- Sign-offs for each skill
✅ This helps you stay organized—and gives the trainee a sense of accomplishment.
At the end of training, hold a final check-in or certification meeting. Let them ask questions, review expectations, and set goals.
🚀 Step 8: Continue Training After Week One
Training doesn’t stop after orientation.
Set monthly refreshers or “lunch and learn” meetings for:
- New equipment demos
- Advanced techniques (roof cleaning, graffiti removal, etc.)
- Upselling tips
- Customer service best practices
- Review of recent customer feedback
🌱 Continuous training = continuous improvement.
You can even create levels or ranks (e.g., Trainee → Technician → Lead Tech) to motivate advancement.
💡 Bonus: Use Software to Streamline It All
If you want to get serious, use tools like:
- Trainual – For building structured SOPs and training systems
- Google Workspace – For storing videos, forms, and handbooks
- Jobber or Housecall Pro – For scheduling shadow shifts and assigning checklists
🧠 Centralized systems prevent “forgotten steps” and keep training uniform across new hires.
🏁 Final Thoughts
Training is not a chore—it’s an investment.
A well-trained team:
- Performs better
- Makes fewer costly mistakes
- Delivers better customer experiences
- Feels more confident and loyal
Set your new hires up for success by teaching not just what to do—but also why it matters.
Your brand reputation, your customers, and your bottom line will thank you. 🙌🚿💼
Browse Amazon Here For Top Rated Power Washers And Accessories