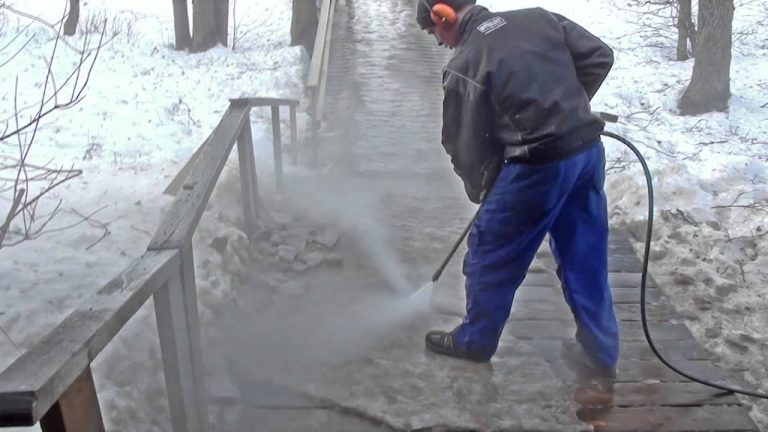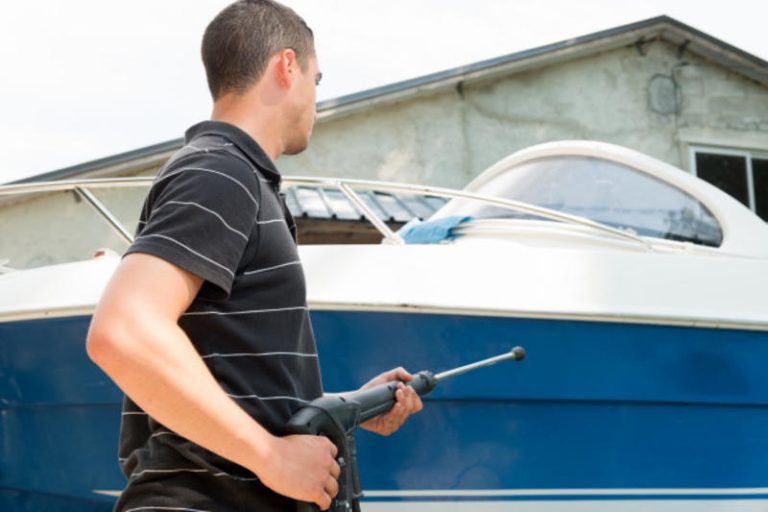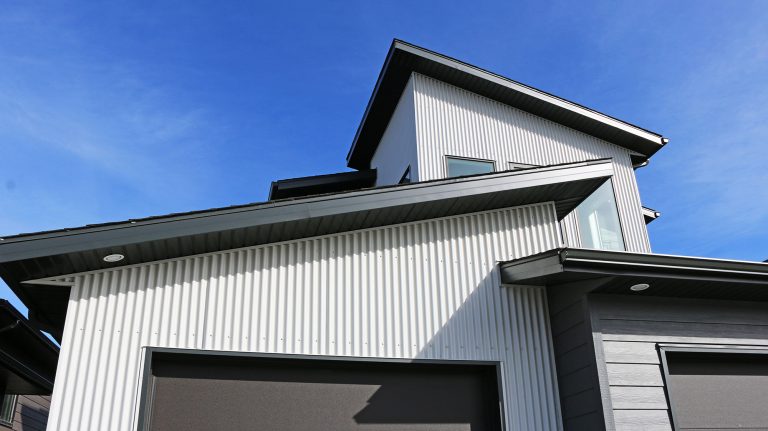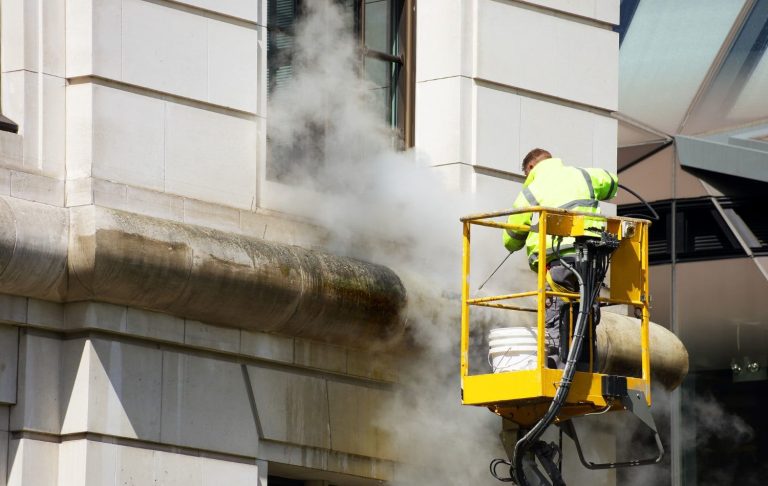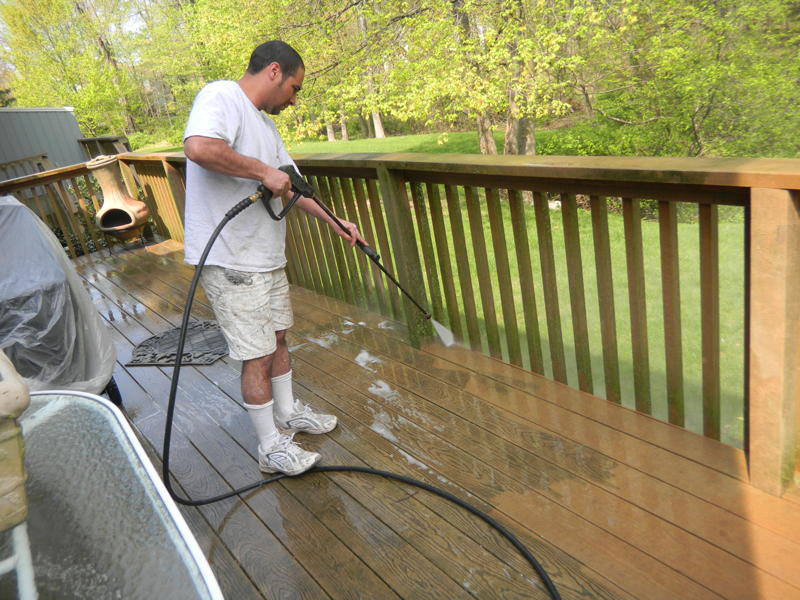
Power washing can dramatically improve the appearance of your home’s exterior, driveway, deck, or fence—but the secret to getting those crisp, clean results lies in the prep work. Before you even turn on your machine, you need to properly prepare the surfaces. Without this step, you risk poor results, streaking, or even permanent damage.
So, what’s the best way to prep for a power washing session? Let’s walk through the process step by step. 🧽✨
🏡 Step 1: Inspect the Surface
Before spraying anything, walk around the area and inspect it thoroughly. Look for:
- Cracks or holes in siding, concrete, or decking
- Peeling paint or loose materials
- Exposed wiring or outdoor outlets
- Fragile items nearby, like garden decorations or electronics
Any damaged areas should be repaired or protected first. Power washers are powerful, and spraying a cracked or weakened surface can worsen the damage.
🔍 Pro tip: Take photos of the surface beforehand—especially if you’re power washing as a prep for painting. This helps document progress and damage that may need repair.
🪵 Step 2: Remove Obstacles and Furniture
Power washing isn’t something you want to do around patio furniture, planters, toys, or your car. Move everything out of the way, including:
- Lawn chairs
- Outdoor rugs
- Grills
- Potted plants
- Vehicles in the driveway
If something is too heavy to move, cover it with a waterproof tarp. You want a clear area to work with and no risk of damage to anything nearby.
🔌 Step 3: Protect Electrical Fixtures and Windows
Water and electricity don’t mix. Before you begin:
- Turn off outdoor power outlets or cover them with waterproof tape/plastic
- Tape up electrical boxes, doorbells, and exposed wires
- Close all windows and seal any gaps
If you’re power washing near light fixtures or outlets, take extra care to avoid spraying them directly—even if they’re covered.
🧴 Step 4: Pre-Treat the Area with Cleaner
One of the most overlooked prep steps is applying a cleaning solution before pressure washing. Depending on the surface and what you’re cleaning (mildew, grease, algae, etc.), use the appropriate detergent or degreaser. Most power washers have a soap tank or a low-pressure setting for detergent application.
Let the solution soak for 5–10 minutes to loosen grime—but don’t let it dry out.
🧪 Use only biodegradable, outdoor-safe cleaners, especially if you’re working near plants or water runoff areas. 🌱
Browse Amazon Here For Biodegradable Pressure Washing Detergents
🧹 Step 5: Sweep or Rinse First
Loose debris like leaves, dirt, or sand should be cleared away beforehand. Use a:
- Broom for patios and decks
- Blower for larger areas
- Garden hose to pre-rinse concrete or siding
This prevents clogging your machine and helps the detergent work more effectively.
🚫 Step 6: Protect Nearby Landscaping
High-pressure spray and cleaning agents can damage your plants. To prevent this:
- Cover flower beds and shrubs with breathable cloths or plastic
- Pre-wet the surrounding grass and soil so it absorbs less runoff
- Rinse your plants with clean water after power washing to remove any lingering soap or debris
🌼 Keeping your garden healthy while cleaning your home is all about thoughtful preparation.
✅ Final Checklist Before Spraying
- All items moved or covered
- Surface inspected and pre-treated
- Windows and outlets sealed
- Garden protected
- Tools, nozzles, and machine ready
Now you’re ready to go!
📝 Final Thoughts
Power washing is as much about preparation as it is about water pressure. Taking the time to properly prep your surfaces will not only make your job easier but also safer and more effective.
When in doubt, take a few extra minutes to double-check everything. It might seem like a hassle at first, but it will pay off with better results and fewer headaches. 🏠💦✅
Browse Amazon Here For Top Rated Power Washers And Accessories
