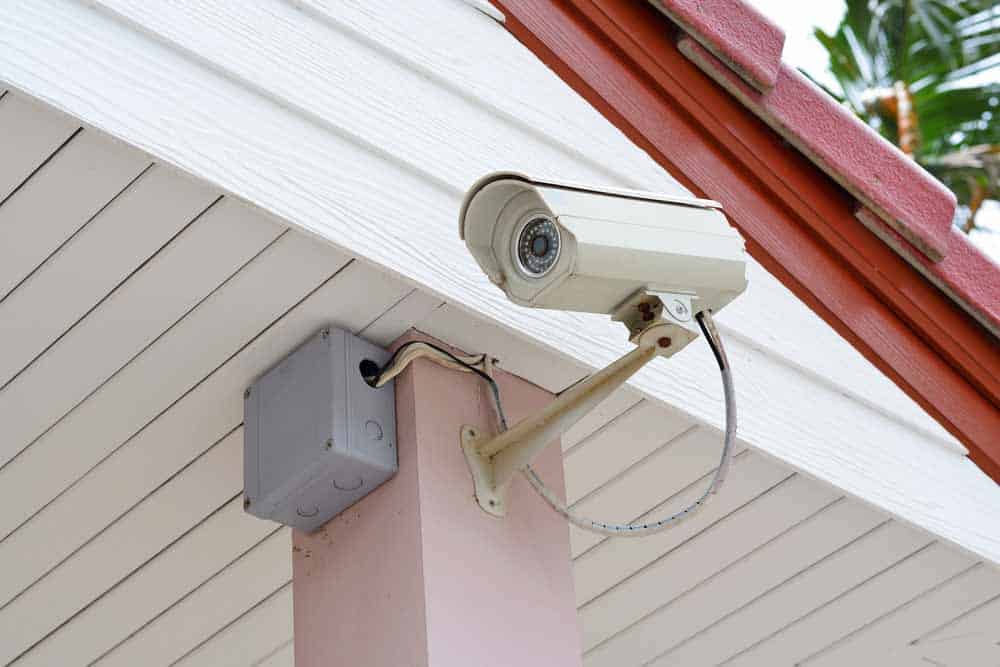
Your home’s first line of defense and curb-appeal booster — the outdoor security camera and its companion light fixture — sit shoulder-to-shoulder on the façade, collecting everything the weather throws at them: dust, spiderwebs, pollen, bird droppings, salty fog, and the occasional paint overspray from a weekend project. Left filthy, they can’t do their job. A dirty lens gives you grainy footage, a haze-coated motion sensor misses activity, and a bug-cocooned light looks dull and dated.
Grabbing a pressure washer feels like the fastest fix, but water + electronics is a risky combo. Done wrong it can fry a $250 camera, short a light circuit, or drive moisture behind siding. Done right—with the correct prep, low pressure, and a bit of hand work—power washing is a fast, satisfying way to keep your security gear sharp and your entryway gleaming. Let’s dive in. ⚡🧽
🔍 Why These Fixtures Need Special Care
| Problem | Effect on Camera/Light |
|---|---|
| Dust & pollen film | Blurry video, dim light output |
| Spiderwebs & insect nests | False motion alerts, fire risk |
| Bird droppings & sap | Corrosive to plastic lenses & housings |
| Mildew & algae | Slippery surfaces, premature rust |
| Salt spray (coastal homes) | Accelerated corrosion of metal parts |
Unlike plain siding, cameras and lights house delicate seals, gaskets, and circuitry. A nozzle that’s perfect for your driveway can blast water past a rubber O-ring and into an IR sensor in seconds.
🧰 What You’ll Need
- Electric or gas pressure washer 1 200 – 1 800 PSI
- 40 ° fan tip (or 25 ° for stubborn grime on housings)
- Bucket with mild dish soap / biodegradable cleaner
- Soft microfiber cloths & detailing brush
- Painter’s tape & zip-top plastic bags (to waterproof connections)
- Phillips or Torx screwdriver (for removing light globes)
- GFCI outlet or battery pack for safety
- Ladder & helper (for high-mounted units)
- Gloves and safety glasses 😎
💡 Pro Tip: If your washer supports it, use warm water (< 115 °F / 46 °C). It helps break down oily residue without steaming seals.
Browse Amazon Here For Top Rated Power Washers And Accessories
🛠 Step-by-Step Cleaning Method
1️⃣ Power Down & Disconnect
- Turn off the breaker that feeds the exterior fixture/camera circuit.
- For PoE or low-voltage cams, unplug the injector or pull the adapter indoors.
- Confirm the device is dead by checking for status LEDs or live feed on your phone.
No current = no accidental short.
2️⃣ Seal Up the Sensitive Bits
- Wrap camera lens face and microphone ports with a strip of painter’s tape.
- Slide a zip-top bag over the entire device, but leave the dirty shell exposed by cutting a window in the front. The tape/bag combo protects internal seams while letting you blast the outer case.
- Do the same for light sockets, motion sensors, and photocells.
Think of it as a raincoat with the muddy boots sticking out.
3️⃣ Dry-Scrub Gross Debris
Before water hits:
- Flick off cobwebs with a detailing brush.
- Pop off glass globes or plastic covers on lantern-style lights; soak them in the soapy bucket.
- Use a soft plastic scraper to lift hardened bird droppings (never metal).
Removing the chunky stuff first means lower pressure later.
4️⃣ Apply Gentle Soap
Either:
- Dip your microfiber in the suds and wipe housings, or
- Use the washer’s low-pressure detergent nozzle to foam the area at < 400 PSI.
Let it dwell 3–5 min but do not let soap dry (shade helps).
5️⃣ Rinse with Low Pressure
- Swap to the 40 ° fan tip.
- Stand 3–4 ft (1 m) back; test spray on siding first.
- Sweep from top down in long passes. Keep the wand at a 45 ° downward angle to avoid forcing water up behind trims.
- Spend extra time on mounting plates, arm brackets, and light housings where mildew loves to hide.
🚫 Avoid: Direct hits to lens glass, PIR domes, rubber grommets, and vent grids. If you see water beading on tape seams, you’re too close.
6️⃣ Hand-Detail the Lens and Sensor
- Remove tape/bag, damp-wipe lens with a fresh cloth and distilled water (prevents spots).
- Clean IR LEDs and motion sensor windows with a cotton swab.
- Dry bulb sockets and USB ports with compressed air if needed.
7️⃣ Reassemble & Re-energize
- Re-install globes/covers, replace any rusted screws with stainless.
- Restore power at the breaker. Verify camera feed, motion trigger, and light function.
- Dispose of rinse water away from storm drains (soap + contaminants).
🌟 Maintenance Hacks
| Frequency | Task | Why |
|---|---|---|
| Monthly | Quick hose rinse (low-pressure) | Keeps pollen film off lenses |
| Quarterly | Wipe lenses & photocells | Sharp night vision & accurate dusk-dawn response |
| Bi-annually | Full power-wash + seal check | Prevents corrosion and gasket failure |
| After storms | Inspect for water ingress | Catch leaks before electronics fry |
Add a silicone gasket lubricant to rubber seals once a year to keep them supple.
❌ Big Mistakes to Sidestep
- Blasting at 2 500 PSI+ – even “weatherproof” IP66 cameras aren’t fire-hose proof.
- Forgetting the breaker – a live wire + water = shocking footage.
- Using bleach – corrodes metal trims and yellows polycarbonate.
- Leaving soap residue – attracts more dust, hurts light output.
- Skipping the lens wipe – water spots = blurry security video.
🌿 Eco-Friendly Rivals to Harsh Cleaners
- White vinegar (50 / 50) tackles mineral spots.
- Castile soap for greasy fingerprints.
- Baking-soda paste for bug splats on housings.
All rinse clean and won’t wilt your roses. 🌹
💬 Final Thoughts
Your security cameras and lights guard your home 24/7; giving them a spa day with a pressure washer keeps them sharp, bright, and reliable. The secret isn’t brute PSI—it’s prep, low pressure, and a little hand detailing. Follow these steps and you’ll extend the lifespan of your gear, improve night-time video clarity, and make your entryway look professionally maintained—all in an afternoon 🎥💡🧼.
Browse Amazon Here For Top Rated Power Washers And Accessories


