Before a single brushstroke hits the surface, professional painters know that success lies in proper preparation. One of the most critical steps in that prep process? Pressure washing. 🧼🖌️
Whether you’re repainting a house, deck, fence, or commercial building, pressure washing plays a huge role in ensuring the paint adheres correctly and lasts for years. Skipping it (or doing it poorly) can lead to bubbling, chipping, flaking — and an expensive do-over.
In this article, we’ll break down how and why pressure washing is a must for pre-paint surface prep.
🧱 Why Surface Preparation Matters Before Painting
New paint needs a clean, stable, and dry surface to bond properly. If the substrate is dirty, moldy, chalky, or flaky, it will interfere with adhesion.
Common problems that occur when surfaces aren’t cleaned properly before painting:
- Peeling paint within months of application
- Mold growth under the paint layer
- Cracking and bubbling due to trapped moisture
- Chalking from loose debris under the paint
- Wasted time, money, and labor
Pressure washing is the easiest and most effective way to remove the gunk that causes these issues. 🚫🎨
💦 What Pressure Washing Removes Before Painting
- Dirt and dust buildup
- Mold and mildew spores (especially on siding)
- Algae and moss
- Pollen, bird droppings, and cobwebs
- Chalking residue (oxidized old paint)
- Loose or peeling paint (when paired with a high-pressure nozzle)
- Grease, oil, or smoke residue (common on commercial buildings)
The goal is to reveal a clean, solid substrate the new paint can grip onto.
Browse Amazon Here For Top Rated Power Washers And Accessories
🏠 Common Surfaces Cleaned Before Painting
| Surface | Pressure Washing Notes |
|---|---|
| Wood siding | Use low PSI (500–1,200), soft wash additives for mildew |
| Stucco | Low pressure and wide-angle tips to prevent cracking |
| Brick and masonry | Medium pressure, optional pre-treatment for efflorescence |
| Vinyl siding | Low-medium pressure, rinse thoroughly to remove chalking |
| Metal railings | Degrease before paint; rust may need wire brushing post-wash |
| Concrete patios | High pressure with degreaser and rust remover if needed |
| Fences and decks | Clean with a wood-safe detergent and allow full drying |
🛠️ Proper Pressure Washing Technique for Paint Prep
- Inspect the surface – note any cracks, peeling, or rot
- Cover delicate areas like outlets, vents, plants, or windows
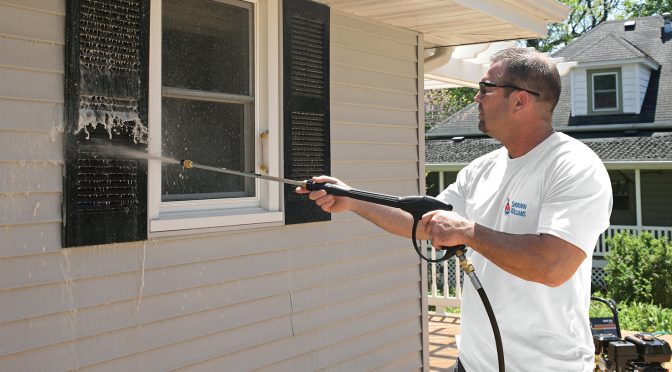
- Apply detergent using a low-pressure nozzle or soap applicator
- Let it dwell 5–10 minutes (don’t let it dry)
- Rinse with appropriate pressure – lower for wood, higher for concrete
- Use wide-angle spray tips (25° or 40°) for gentle, even coverage
- Keep the nozzle moving to avoid gouging softer surfaces
- Let dry thoroughly before painting – typically 24 to 72 hours
📏 Drying Time Matters
Paint should never be applied to a damp surface. Even if the surface looks dry, trapped moisture inside wood or masonry can cause paint to bubble or crack later.
| Surface Type | Recommended Drying Time |
|---|---|
| Wood | 48–72 hours |
| Brick/concrete | 24–48 hours |
| Stucco | 48–72 hours |
| Vinyl siding | 24 hours |
Use a moisture meter if unsure — especially for older homes or shaded areas.
🔁 Pressure Washing and Stripping Old Paint
While pressure washing can remove some loose or flaking paint, it is not a full paint stripper. Still, it plays a critical role in the stripping process:
- Loosens peeling paint
- Softens edges of worn areas
- Helps identify rotten wood or crumbling stucco
- Removes chalking (old oxidized pigment)
- Cleans off dust from sanding or scraping
For thicker paint removal, pressure washing is used in conjunction with scrapers, sanders, or chemical strippers.
⚠️ Common Mistakes to Avoid
🚫 Using too much pressure on wood or stucco
🚫 Skipping detergent (water alone doesn’t remove mold/oil)
🚫 Painting before the surface fully dries
🚫 Over-saturating wood surfaces (can lead to swelling)
🚫 Forgetting to mask off sensitive areas like doors or electrical boxes
A botched pressure washing job will do more harm than good — causing paint failure, material damage, or premature rot.
🧰 Tools and Products That Help
- Biodegradable cleaners – safe for plants and eco-friendly
- Mildecide additives – kills mold at the root
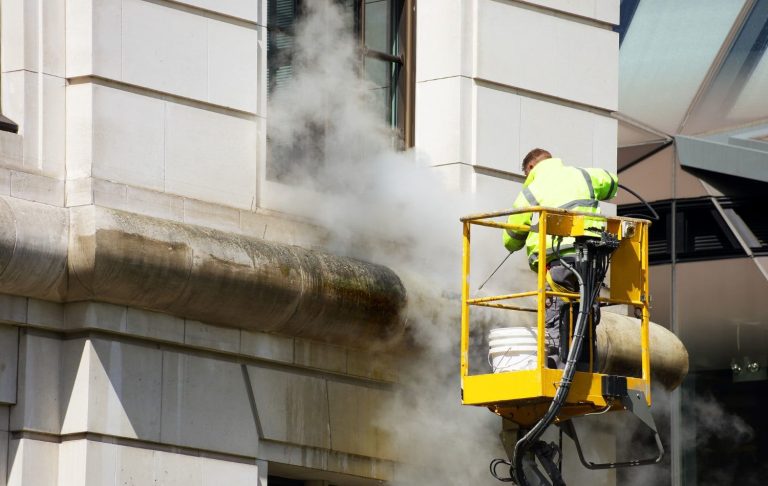
- Extension wands – for high siding or second-story walls
- Soft wash systems – for delicate or detailed surfaces
- Rotating surface cleaners – for decks, driveways, or patios
Professional painters often bundle pressure washing with their prep service to ensure a flawless foundation.
💼 DIY or Professional?
🧑🔧 DIY
- Affordable for small jobs (single-story homes)
- Requires practice and caution
- Must carefully time the painting to follow drying
👷 Hire a Pro
- Faster, safer, and more efficient
- Ideal for multi-story buildings, fragile materials, or heavily soiled surfaces
- Includes insurance and warranty in many cases
✅ Final Thoughts
Think of pressure washing as the primer before the primer. It clears away years of grime, mold, and paint residue to ensure the new finish goes on smoothly and stays put.
Skipping this step might save time today, but it can cost thousands in repainting tomorrow. If you want your next paint job to last, start with a clean canvas — and pressure washing is your best brush. 🧼🎨💪
Browse Amazon Here For Top Rated Power Washers And Accessories


