Brick garden edging adds a classic, durable, and decorative touch to flower beds, walkways, and landscape borders. But over time, exposure to dirt, moss, grass clippings, and weather can leave your bricks looking dull, stained, or even slimy. Power washing is a highly effective way to restore their original charm—but it must be done carefully to avoid shifting or damaging the layout ⚠️.
In this article, we’ll break down how to clean brick garden edging using a pressure washer, including setup tips, safety precautions, and techniques to prevent dislodging your bricks.
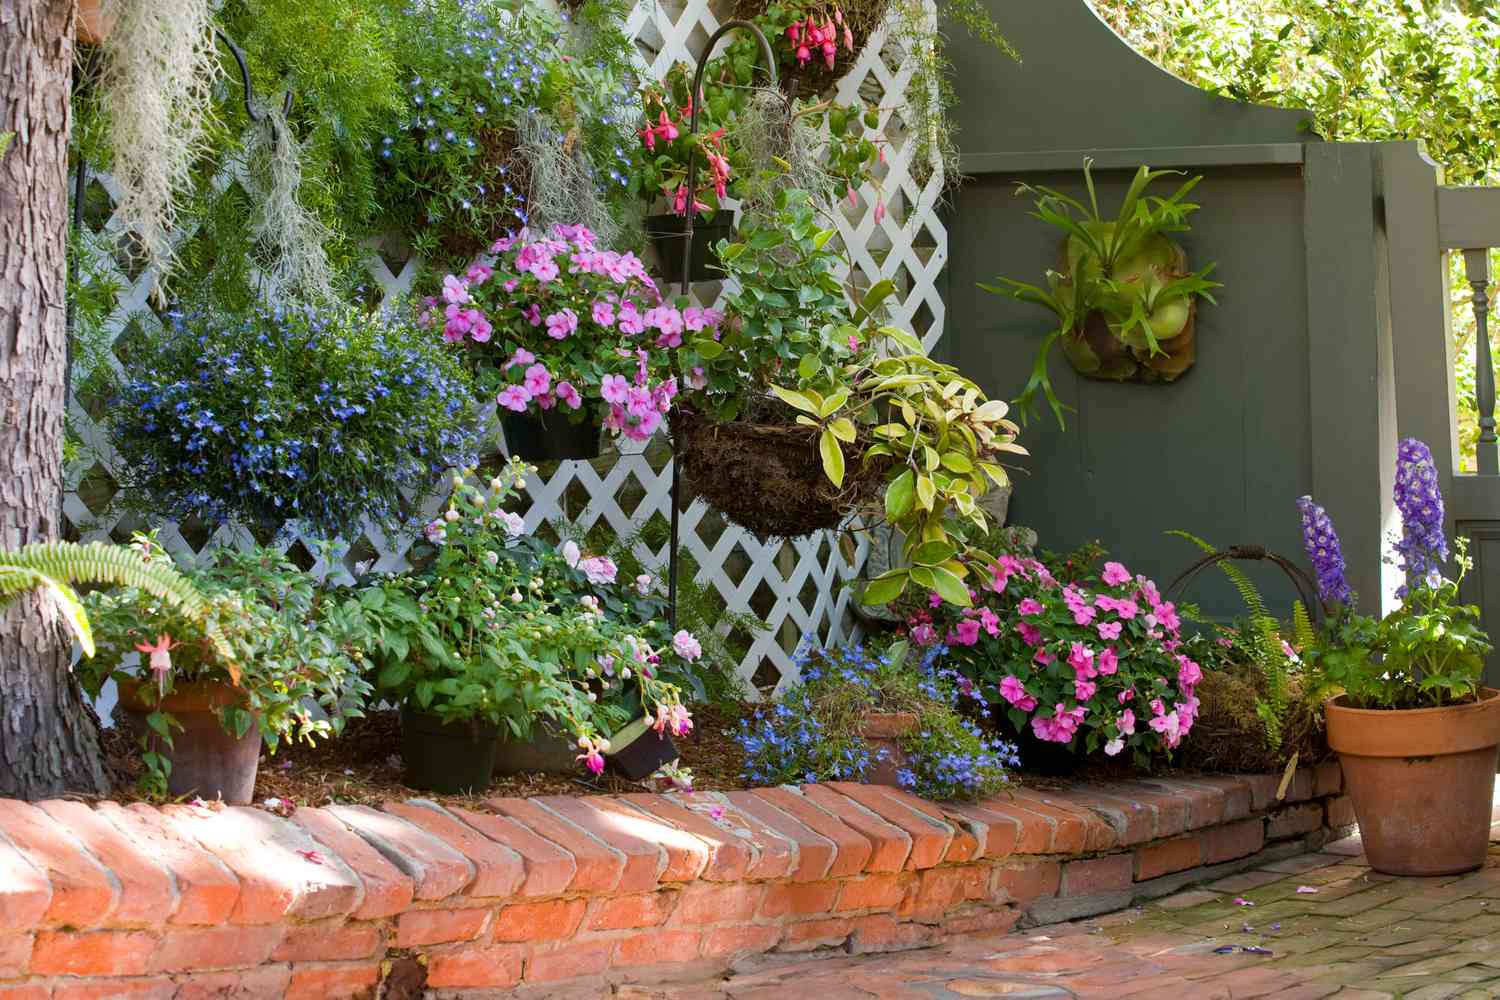
🌱 Why Garden Edging Gets So Dirty
Bricks that border garden beds are exposed to some of the messiest parts of your yard:
- Soil runoff from watering or rain
- Mulch and compost staining
- Grass stains from mowing and trimming
- Moss, algae, or mildew buildup
- Pollen and dust in the air
- Foot traffic and lawn equipment debris
Unlike vertical brick walls, garden edging sits at ground level and takes the full brunt of environmental exposure. Regular cleaning is the key to long-term durability and appearance.
✅ Benefits of Power Washing Brick Edging
Using a pressure washer for garden edging has several advantages:
- Removes stubborn stains and organic buildup
- Restores original brick color and texture
- Increases curb appeal and landscape uniformity
- Helps prevent mold and algae regrowth
- Prepares bricks for resealing or maintenance
- Extends the lifespan of mortar or sand joints
Just one deep cleaning session can make your landscape borders look brand new again 🧼✨.
⚠️ Challenges to Watch For
While brick is a strong material, garden edging requires a gentler touch because:
- Bricks can shift if not mortared in place
- High pressure may dislodge joint sand or soil
- Weaker or cracked bricks may crumble
- Overspray could damage nearby plants or flowers 🌸
The key is to balance power with precision—and know exactly what you’re working with.
🛠️ Supplies You’ll Need
- A pressure washer (preferably electric or light-duty gas, 1,200–2,000 PSI)
- 25° or 40° nozzle tip for broader, gentler spray
- Biodegradable brick-safe detergent
- Garden hose for rinsing
- Protective gear: goggles, gloves, closed-toe shoes
- Optional: broom or wire brush for pre-cleaning
Browse Amazon Here For Top Rated Power Washers And Accessories
🧽 Step-by-Step Cleaning Instructions
1. Inspect Your Brick Edging
Check for loose bricks, gaps, or crumbling mortar. Mark any fragile areas with flags or chalk so you can clean them by hand later.
2. Pre-Wet the Area
Use your garden hose to lightly wet the bricks. This helps loosen surface debris and prevents the detergent from soaking in too quickly.
3. Apply a Mild Cleaning Solution
Spray on a gentle, plant-safe cleaner designed for masonry. Let it soak in for 5–10 minutes but don’t let it dry out.
Browse Amazon Here For Eco-Friendly Pressure Washing Detergents
4. Start Washing from the Center Out
Position the pressure washer wand at a 45-degree angle, 12–18 inches away from the surface. Use overlapping strokes and move in the direction of the brick line, not across it.
Focus on sections of 4–5 feet at a time to maintain control and avoid damage.
5. Use a Sweeping Motion with Broad Spray
Stick with the 25° or 40° tip—these are wide enough to clean without disturbing the brick layout. Avoid using turbo or zero-degree tips which are too aggressive 🛑.
6. Avoid Direct Spray Into Joints
Pointing the water directly into mortar or sand joints can blow out the filling. Always angle the spray away from seams or point it parallel to reduce impact.
7. Rinse Thoroughly
Once the surface is clean, do a final rinse with your garden hose. This clears away any remaining detergent and avoids residue buildup.
8. Let Dry and Reassess
Allow the bricks to fully dry for several hours. Check for any loose bricks, gaps, or areas that may need touch-ups. Reseal if necessary using a brick-safe sealant.
🧠 Pro Tips for Best Results
- If bricks are loosely stacked, consider hand-washing them with a soft brush and bucket
- Lay down plastic sheeting to protect nearby flowers or mulch from detergent spray
- Perform edging maintenance at least once a year, or more often in humid or heavily wooded areas
- Keep the wand moving at all times to prevent pitting or surface wear
- For deeper stains, repeat the cleaning with a diluted vinegar rinse 🌿
🧱 Sealing After Cleaning (Optional)
To keep your bricks looking good longer, you may want to apply a clear sealant. This:
- Enhances the brick’s color
- Prevents future staining
- Makes future cleaning easier
- Helps lock in joint sand or mortar
Make sure to wait at least 24 hours after washing before sealing to ensure everything is fully dry.
🌼 Eco-Friendly Considerations
Since your garden is full of living things, always choose:
- Non-toxic, biodegradable detergents
- Low-pressure rinsing near flower beds
- Protective barriers for sensitive plants
- Avoidance of bleach or harsh chemical runoff
Protecting your landscape goes hand in hand with cleaning it responsibly 🌎💧.
💬 Final Thoughts
Cleaning brick garden edging with a pressure washer can be incredibly satisfying and instantly boost the visual appeal of your yard. But like any power washing task, it demands careful handling and a thoughtful approach.
By working in sections, using the right pressure, and protecting delicate areas, you can remove years of grime without disturbing your carefully-laid bricks. So go ahead—give those edges the refresh they deserve and enjoy a neater, brighter garden border 🧱🌞
Browse Amazon Here For Top Rated Power Washers And Accessories


