If you’ve ever noticed your patio pavers looking uneven, faded, or filled with weeds and moss, you’re not alone. Over time, paver installations naturally settle, shift, and collect debris. Whether you’re planning to re-level sunken pavers or install fresh polymeric sand, power washing is a must-do first step 💦.
Many homeowners and contractors underestimate just how essential a deep clean is before re-sanding or re-leveling. But skipping this step could mean wasted time, poor results, or even a complete redo of the job. In this guide, we’ll explain why power washing is crucial, how to do it right, and what to avoid.
🧼 Why Cleaning First Matters
Power washing isn’t just for aesthetic reasons. When preparing pavers for sanding or leveling, a clean surface is necessary for:
- ✅ Proper sand bonding – Dirt prevents polymeric sand from sticking and curing correctly
- ✅ Accurate leveling – Debris can hide low spots or cause false elevation readings
- ✅ Weed removal – Gets rid of root systems and moss that compromise stability
- ✅ Paver longevity – Removes substances that degrade the stone or brick over time
Skipping the cleaning step means you’re working over compromised ground—literally.
🪨 What Happens if You Don’t Power Wash?
If you try to re-sand or level dirty pavers, several problems can pop up:
- Polymeric sand won’t bond: Dust and algae prevent the sand from activating properly
- New sand washes away quickly: Because it sits on top of debris instead of settling into joints
- Moss or weed regrowth: Organic matter left behind fuels new growth in no time
- Uneven finish: Debris in low spots prevents proper height adjustments
- Poor sealing results: If you’re sealing afterward, contaminants will get locked in under the coating
Ultimately, failing to power wash first undermines the entire renovation project. 😬
Browse Amazon Here For Popular Pressure Washers And Accessories
🧽 Step-by-Step: How to Power Wash Before Re-Sanding
Here’s how to do it right:
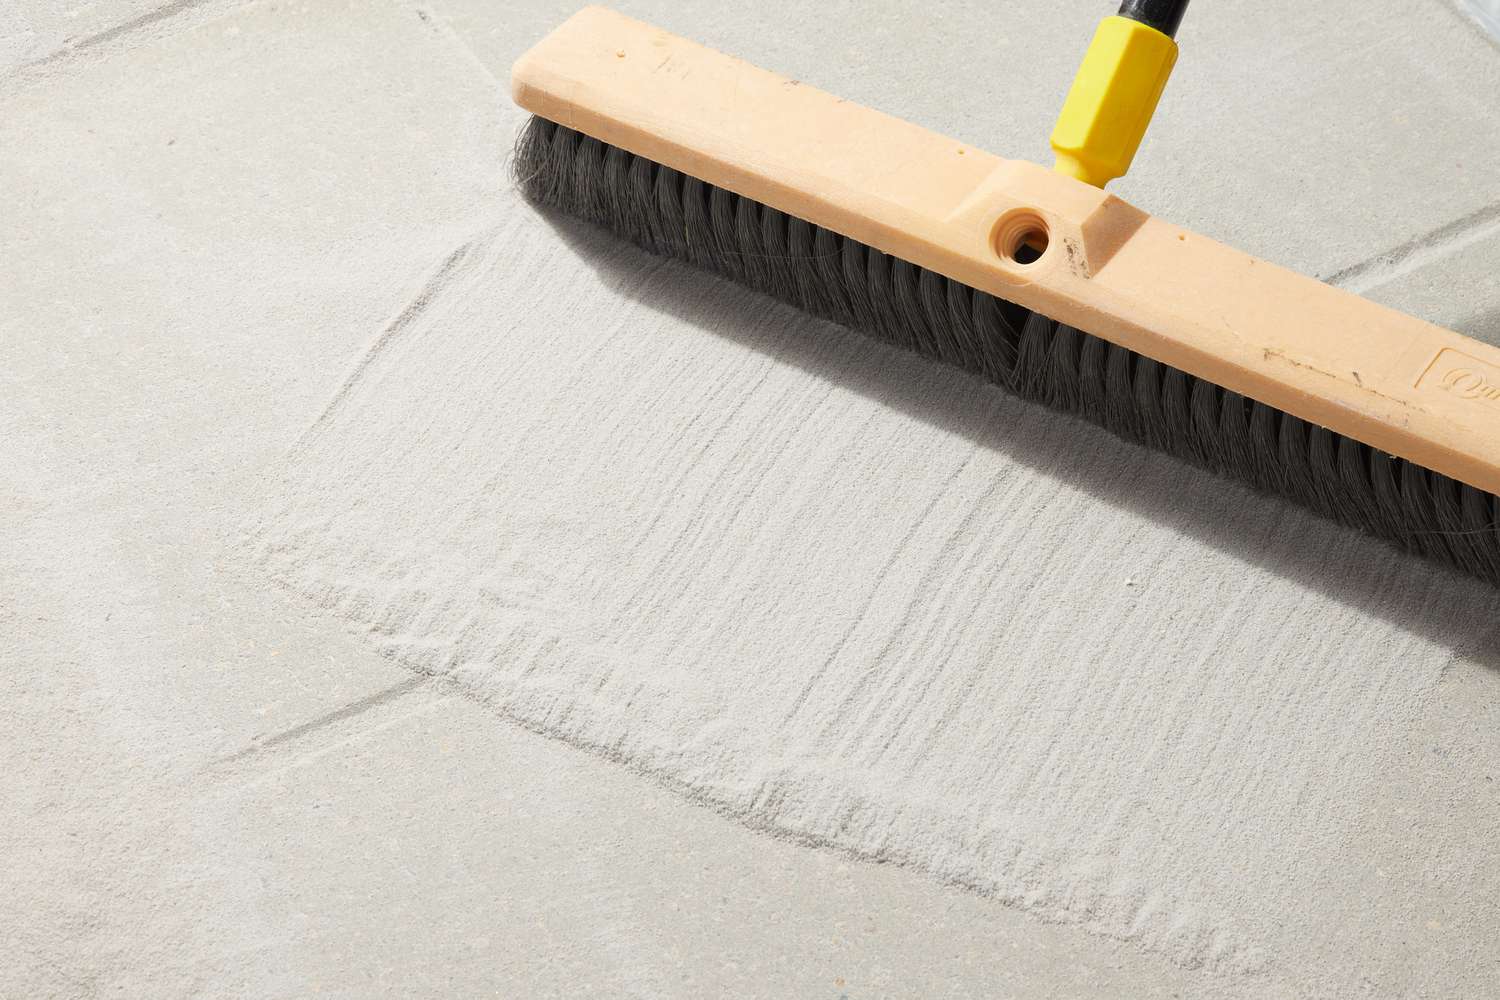
1. Remove Loose Debris
Before firing up the pressure washer, sweep away large debris—leaves, twigs, rocks, etc.—using a stiff broom or blower.
2. Use a Fan Nozzle
Equip your pressure washer with a 25- or 40-degree fan tip. A 15-degree tip is too aggressive and may damage edges of soft pavers.
3. Apply Low to Moderate Pressure
Use about 1,500 to 2,000 PSI—just enough to blast away grime but not so much that it chips or etches the surface.
4. Clean Joint Channels
Focus the stream directly into the paver joints to remove old sand, weeds, and compacted soil. This ensures the new sand has space to settle and lock in.
5. Rinse Thoroughly
After scrubbing and blasting, give the surface a clean rinse to wash away residue. Allow it to dry completely before sanding or leveling.
⏳ How Long to Wait Before Re-Sanding?
After power washing, allow at least 24–48 hours for the pavers to dry. Applying polymeric sand to wet or damp joints can lead to:
- Clumping or poor curing
- Sand being washed away during activation
- White hazing on the surface from trapped moisture
✅ Use a leaf blower before sanding to remove dust or any lingering debris.
🧴 Bonus Tip: Add a Cleaning Solution
For especially dirty patios, use a cleaning solution before or during power washing. Choose a paver-safe detergent that removes mold, mildew, or oil stains. Avoid harsh acids unless your pavers are concrete and can tolerate it.
Let the solution sit for 5–10 minutes before washing it off with the pressure washer.
🧱 When to Re-Level Instead of Just Re-Sand
Power washing also reveals issues that may require re-leveling, such as:
- Deep dips or sinking areas
- Edge pavers that are pushing outward
- Pooling water after rainfall
- Movement of stones when stepped on
These signs often hide beneath dirt and debris. Power washing clears the surface, so you can accurately evaluate and fix grade problems before sanding.
👷 Should You Hire a Pro?
For large patios, intricate patterns, or delicate paver materials (like slate or natural stone), consider hiring a professional. They’ll have:
- Surface-safe washers and detergents
- Sand-vacuuming tools for perfect joint clearing
- Experience spotting foundational problems
- Techniques to minimize joint erosion during cleaning
If you’re investing time and money into new sand or a sealing job, it’s worth doing it right from the start.
🧠 Final Thoughts: Clean First, Then Lock It In
Re-sanding or re-leveling your patio can bring it back to life—but only if you prep the surface properly. Power washing removes the hidden threats that can sabotage your project, from stubborn dirt and weeds to old, unstable sand.
A thorough clean ensures your new sand will bond, settle, and perform exactly as it should—giving your outdoor space that crisp, like-new finish 🔧🧹✨.
Browse Amazon Here For Popular Pressure Washers And Accessories


