Whether you’re applying an epoxy coating to a garage floor, sealing a patio, or prepping a commercial surface for protective layering, one of the most important (yet often overlooked) steps is surface preparation. If the surface isn’t properly cleaned and prepped, even the most expensive epoxy or sealant won’t adhere well—and you’ll be facing cracks, peeling, or bubbling in no time ❌.
That’s where power washing comes in. When used correctly, it’s one of the best tools available to prepare surfaces for a smooth, long-lasting finish. Let’s explore how to properly use power washing for epoxy and sealing jobs—and avoid costly mistakes.
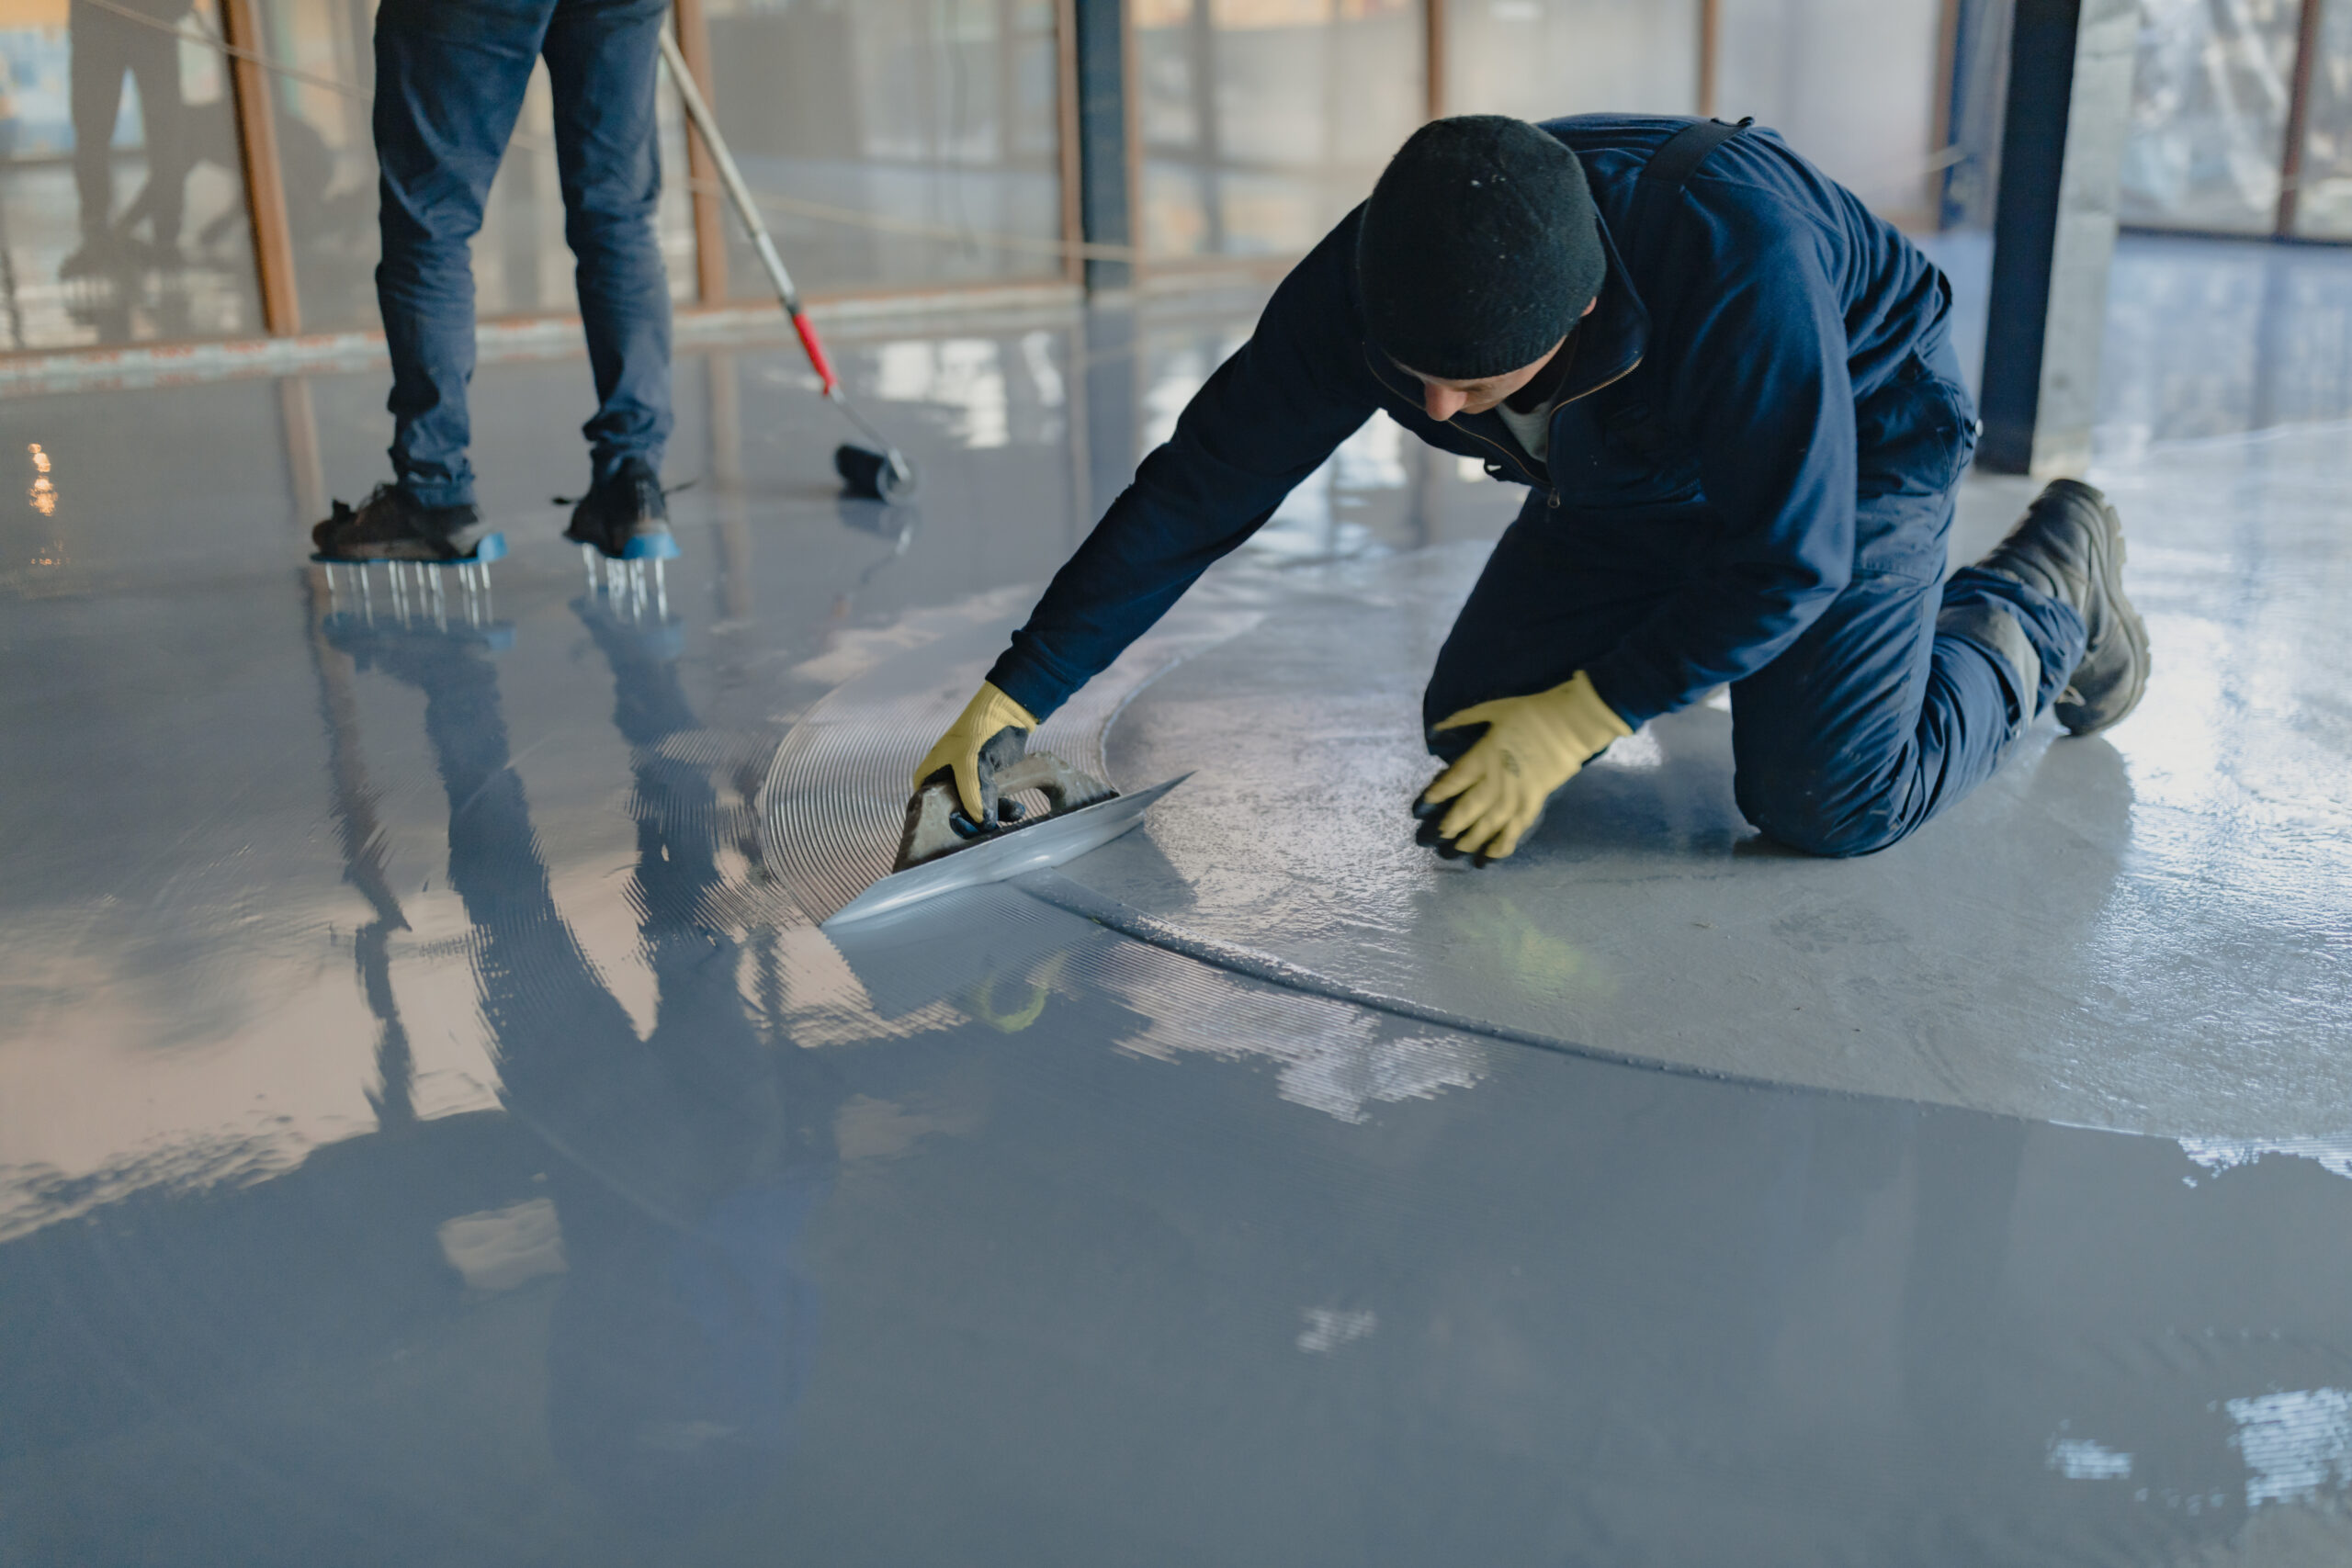
🔍 Why Surface Prep Is So Important
Before any epoxy or sealant is applied, the surface must be:
- Clean and free of debris
- Dry and moisture-free
- Textured (if required) for bonding
- Free of grease, oil, and existing coatings
If these steps are skipped or rushed, your coating may not bond properly, which can lead to premature failure. Poor prep = poor performance.
🧼 What Types of Surfaces Should Be Power Washed Before Sealing?
Power washing is ideal for prepping the following surfaces:
| Surface Type | Suitable for Epoxy/Sealant? | Power Wash Recommended? |
|---|---|---|
| Concrete (garage/patio) | ✅ Yes | ✅ Strongly recommended |
| Pavers | ✅ Yes (with paver sealer) | ✅ Yes |
| Brick | ✅ Yes (with breathable sealant) | ✅ Low-pressure only |
| Asphalt | ⚠️ Caution (not epoxy, but some sealants) | ⚠️ Gentle cleaning only |
| Wood decks/fences | ✅ Yes (wood sealer) | ✅ Soft wash only |
💡 Note: Always check the manufacturer’s guidelines on whether a surface needs to be etched or neutralized after washing.
Browse Amazon Here For Top Rated Power Washers And Accessories
🚿 Step-by-Step: Power Washing Before Applying Epoxy or Sealant
Let’s walk through the correct process to ensure a surface is ready for coating:
1. Remove Everything from the Area
Clear the workspace of cars, furniture, planters, and anything that might get in the way or be damaged by water spray.
2. Inspect the Surface
Look for:
- Cracks or divots that need patching
- Oil stains or paint spills
- Old sealant residue or mildew
Make note of these for pre-treatment.
3. Pre-Treat Tough Stains
Use a degreaser or concrete cleaner for oil and automotive stains. Let it soak for 10–15 minutes, then scrub with a stiff-bristled brush. This helps loosen up grime before power washing.
4. Choose the Right Nozzle and Pressure
For surface prep:
- Use a 15-degree nozzle for focused cleaning power
- Set your washer to 2,000–3,000 PSI for concrete
- Keep the wand at a 45-degree angle, about 12″ from the surface
⚠️ Don’t use too high of a PSI on soft surfaces like wood or brick—this can cause gouging or pitting.
5. Work in Sections
Divide large areas into manageable zones. Overlap each pass slightly to avoid streaks. This ensures uniform cleanliness and eliminates missed spots.
6. Rinse Thoroughly
After cleaning, rinse the area with plain water to flush away loosened debris and any residual soap or chemicals.
7. Allow the Surface to Dry Completely
This is critical—never apply epoxy or sealant to a wet or even damp surface. Wait 24–48 hours depending on:
- Temperature
- Humidity
- Sunlight exposure
Use a moisture meter if needed to confirm dryness.
🧱 What About Etching?
Some concrete epoxy products require the surface to be “etched” to create a slightly rough texture for better adhesion.
There are two ways to do this:
- Chemical etching (acid-based solutions)
- Mechanical etching (grinding or shot blasting)
👉 Power washing does not etch concrete, but it’s often used after etching to remove residue. Check your epoxy kit instructions to know if etching is necessary.
🧽 Cleaning After Power Washing: Final Prep Steps
Before applying your epoxy or sealant, do a quick checklist:
✅ Has the surface dried fully?
✅ Are all loose particles removed?
✅ Is the temperature suitable for application?
✅ Are cracks or chips filled and smoothed?
✅ Is the surface completely grease- and stain-free?
If you’ve checked all the boxes, you’re ready to coat!
🛠️ Tools That Help with Post-Wash Prep
Some tools and accessories to consider after washing:
- Leaf blower or floor fan – Speeds up drying
- Squeegee or shop vac – Removes pooled water
- Tack cloth or microfiber mop – Picks up final dust
- Moisture meter – Confirms concrete dryness before sealing
Taking the extra time to finish prep thoroughly can make all the difference in your coating’s longevity 💪.
👷 Should You Hire a Pro?
If you’re dealing with:
- Large commercial areas
- Unusual materials (stamped concrete, decorative stone)
- Previous coating that needs stripping
- Tight application timelines
…you may want to bring in a professional surface prep or epoxy team. They’ll have the tools, drying equipment, and experience to get the job done fast and right the first time.
✅ Final Thoughts: A Clean Start for a Lasting Finish
Power washing is one of the best ways to prepare a surface for epoxy or sealant—as long as it’s done thoughtfully. Rushing the job or skipping key steps can cost you in the long run. But when done correctly, power washing ensures the surface is clean, strong, and ready to bond with your coating for years of durability and beauty 🔒✨.
So, before you roll on that first coat, roll out the pressure washer—and give your project the clean slate it deserves! 🧼🎯
Browse Amazon Here For Top Rated Power Washers And Accessories


