If your asphalt driveway is looking dull, dirty, or stained with oil and grime, it might seem like power washing is the perfect solution. After all, nothing beats that high-pressure blast to strip away years of buildup… right?
Well, yes — but only if done correctly. Power washing asphalt requires a thoughtful approach. Use the wrong pressure, angle, or technique, and you could do more harm than good — including cracking, raveling, or stripping the surface. 😬
In this guide, we’ll break down everything you need to know to safely and effectively power wash an asphalt driveway without ruining it.
🚗 Why Clean Your Asphalt Driveway?
Your driveway is one of the first things people see — and one of the hardest-working surfaces on your property. It takes abuse from:
- Vehicles and tires
- Oil and fluid leaks
- Leaves, dirt, and dust
- Sun exposure and water runoff
- Algae and mildew (especially in shaded or humid areas)
Over time, this can lead to:
- Surface discoloration
- Slippery, unsafe patches
- Permanent staining
- Reduced curb appeal
🧼 A well-cleaned driveway not only looks better — it lasts longer and stays safer.
❓ Is It Safe to Power Wash Asphalt?
Yes — you can power wash asphalt, but you must use the right equipment and technique. Unlike concrete, asphalt is softer and more flexible. Excessive pressure or improper washing can:
- Strip away protective sealcoat
- Create surface raveling (loose gravel)
- Open cracks and allow water to seep in
- Weaken the binder holding the asphalt together
💡 The goal is to clean — not destroy — the surface.
🧰 What You’ll Need
Here’s your equipment checklist for a safe asphalt wash:
- Pressure washer (gas or electric, 1,300–2,500 PSI)
- 25° or 40° nozzle (never a 0° tip)
- Biodegradable degreaser or driveway cleaner
- Push broom or stiff-bristled brush
- Garden hose
- Safety gear (goggles, gloves, closed-toe shoes)
🎯 Optional but helpful: Surface cleaner attachment for even results.
Browse Amazon Here For The Power Washing Equipment You’ll Need
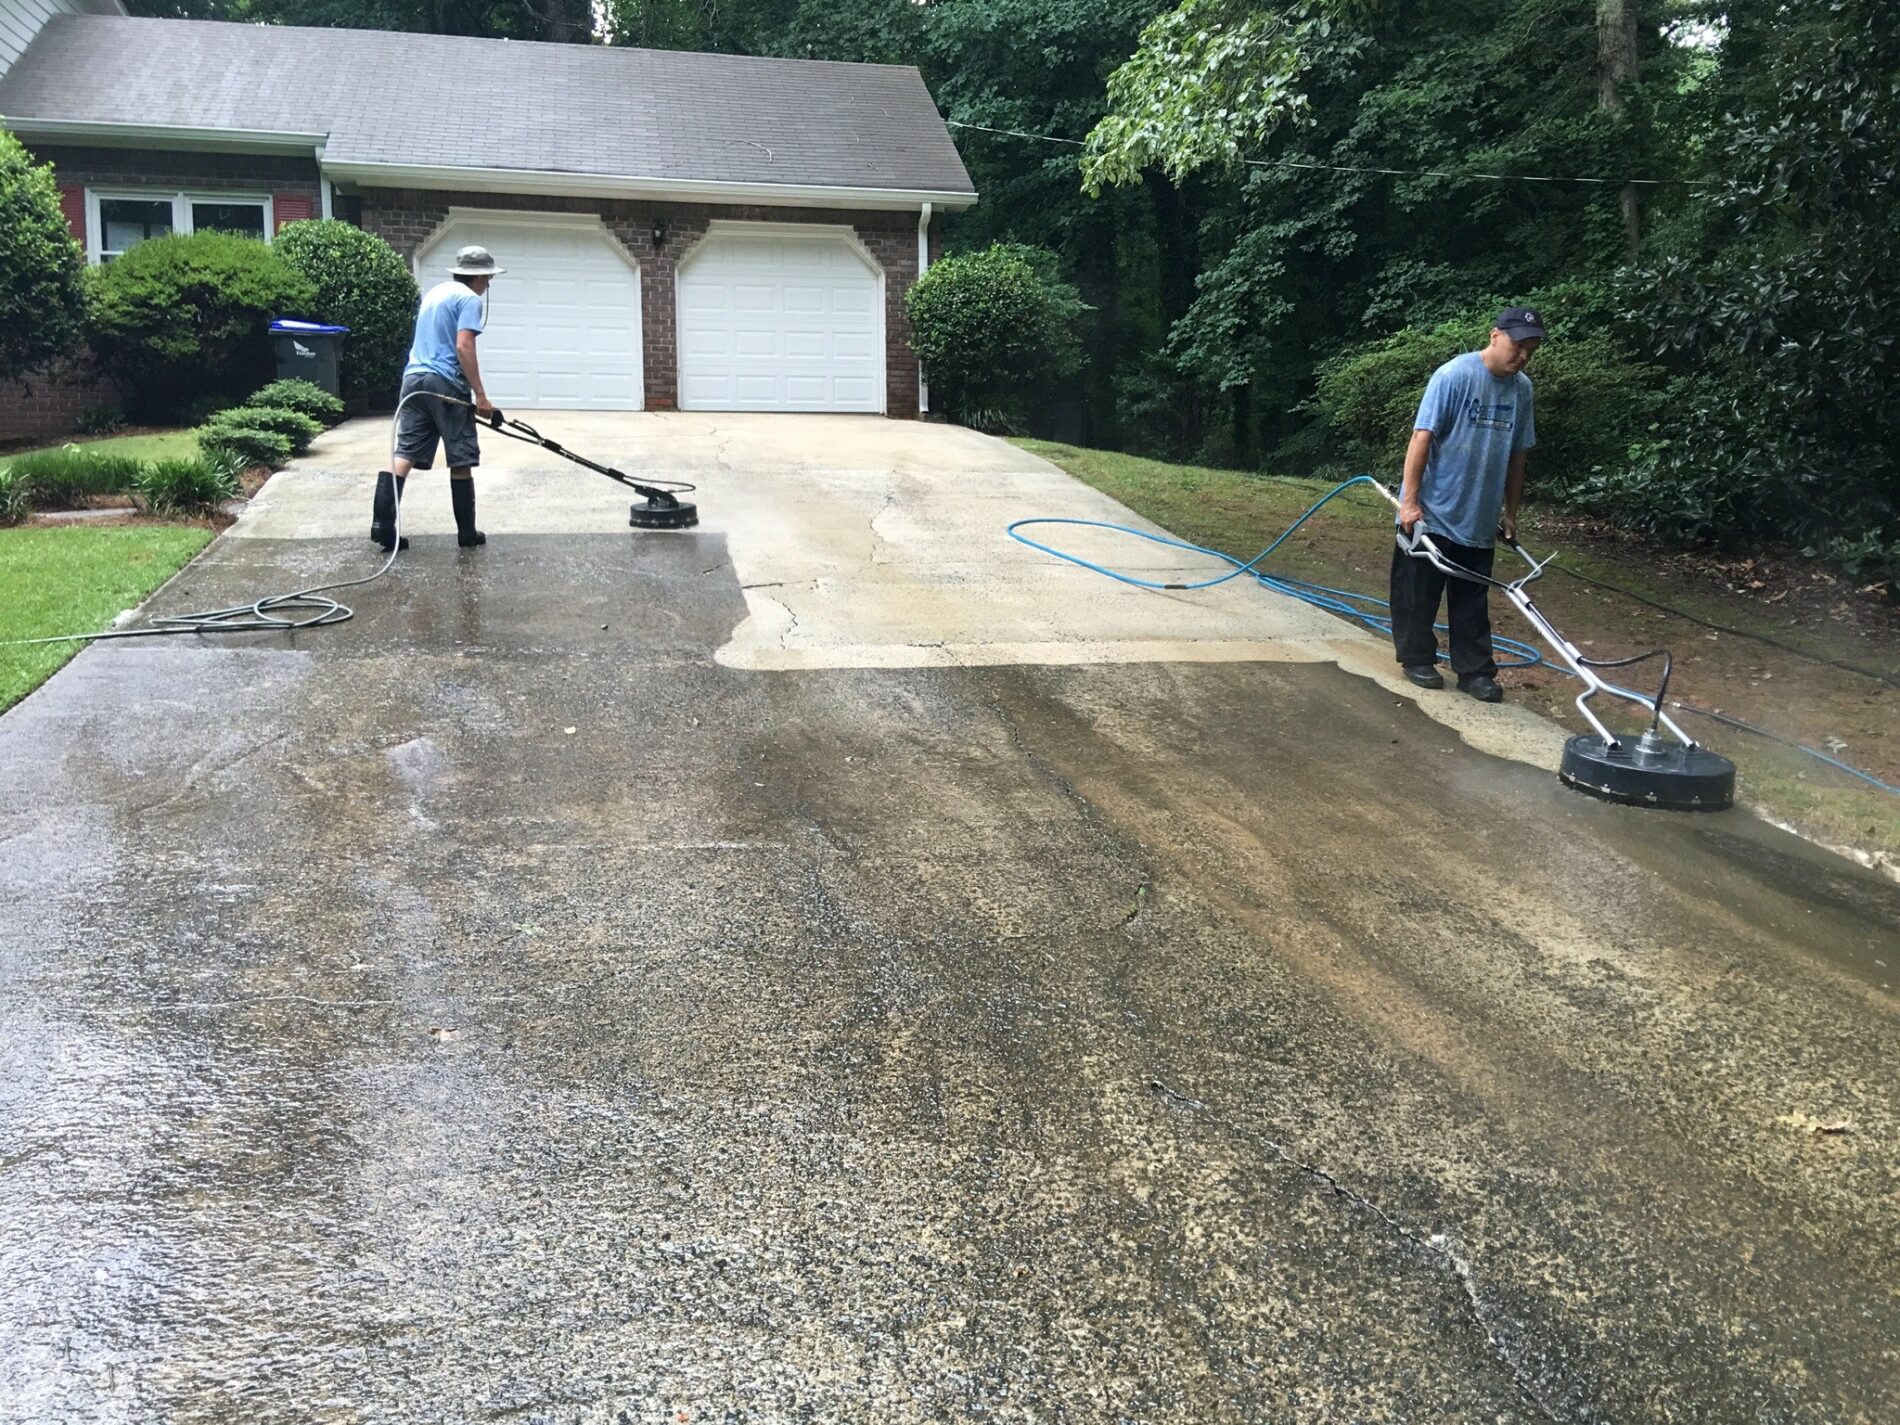
🔧 Step-by-Step: How to Power Wash an Asphalt Driveway
Let’s get into the process. Follow this routine for the safest and best results.
Step 1: Inspect and Prep the Area 🧐
Before you start, walk the driveway and check for:
- Potholes
- Deep cracks
- Loose gravel or surface wear
- Fresh sealant (must cure for 6+ months before washing)
Move any vehicles and sweep away loose debris.
🧹 Pro tip: Use a leaf blower to speed up clearing dirt, twigs, and leaves.
Step 2: Apply Degreaser or Cleaner 🧴
Oil and fluid stains won’t come off with water alone. Spray a driveway-safe degreaser on stained areas and let it sit for 5–10 minutes.
Scrub with a stiff brush to loosen the grime — this makes your power wash more effective.
Browse Amazon Here For Driveway-Safe Degreasers
Step 3: Choose the Right Nozzle and Settings 💦
Attach a 25° or 40° tip to your pressure washer. These create a wide spray pattern that covers more area while minimizing surface damage.
Keep the PSI between 1,300 and 2,000 — enough to clean, but not enough to tear.
Step 4: Start Washing — Smartly ✔️
Hold the wand about 12–18 inches from the surface and spray in long, even lines. Keep the nozzle moving constantly to avoid cutting into the asphalt.
- Spray at a shallow angle to reduce force
- Work in small sections for uniform coverage
- Start from the highest point and work downward to guide runoff
🚫 Avoid blasting directly into cracks — this can worsen them.
Step 5: Rinse and Inspect 💧
Once finished, rinse the entire driveway with a hose or low-pressure spray to remove detergent, lifted dirt, and loose debris.
Take a look at your results:
- Re-treat any stubborn stains
- Avoid walking or parking on the surface for several hours
🧠 Tips for Better Results
- Wash your driveway 1–2 times per year (spring and fall are best)
- Avoid pressure washing just before sealing — clean it at least 48 hours before
- Use a surface cleaner attachment for large driveways — prevents streaks
- Don’t power wash asphalt when temperatures are below 50°F
- Let it fully dry before applying any sealant or coating
🌤️ Clean, dry weather = ideal power washing conditions.
⚠️ Common Mistakes to Avoid
Even well-meaning homeowners can mess this up. Don’t make these common errors:
- Using high pressure thinking “more power = better clean”
- Holding the nozzle too close to the surface
- Washing freshly sealed asphalt (wait 6–12 months minimum)
- Skipping pre-treatment of oil stains
- Using harsh chemical degreasers not labeled for asphalt
🧯 The key is moderation — be thorough, not aggressive.
🛠️ When Should You Call a Pro?
Hire a professional if:
- Your driveway is large or steep
- You see signs of cracking, rutting, or base damage
- You need a deep oil stain removal
- You want pressure washing + sealing as a bundled service
Pros use commercial-grade equipment and understand how to clean without causing wear.
🧼 Final Thoughts
Your driveway works hard — and it shows. With the right technique, pressure washing is a fantastic way to keep it clean, safe, and looking sharp.
Just remember:
- Use the right pressure and nozzle
- Pre-treat tough stains
- Avoid extreme angles and high pressure
- Don’t skip the rinse
- Inspect and reseal annually
Clean asphalt doesn’t just look good — it performs better, drains better, and lasts longer. So go ahead and wash that driveway — just wash it smart. 💪🧼
Browse Amazon Here For Top Rated Power Washers


